Alright, now you know which material to choose, what orientation to opt for whether Portrait or Landscape, and are equipped with all the branding materials. Time for the next exciting stage, creating the design using the CUSTA Online Design Editor!
Our online design studio is engineered to be incredibly powerful yet simple enough for complete beginners. You don’t need a degree in graphic design or expensive editing software to create retail-ready merchandise.
Let’s go through this proven, easy guide on how to use our design editor and avoid potential mistakes in the process.
Step 1: Set Your Foundation (The Product Details)
Before you click into the design canvas, you need to select your physical bag specifications on the product page.
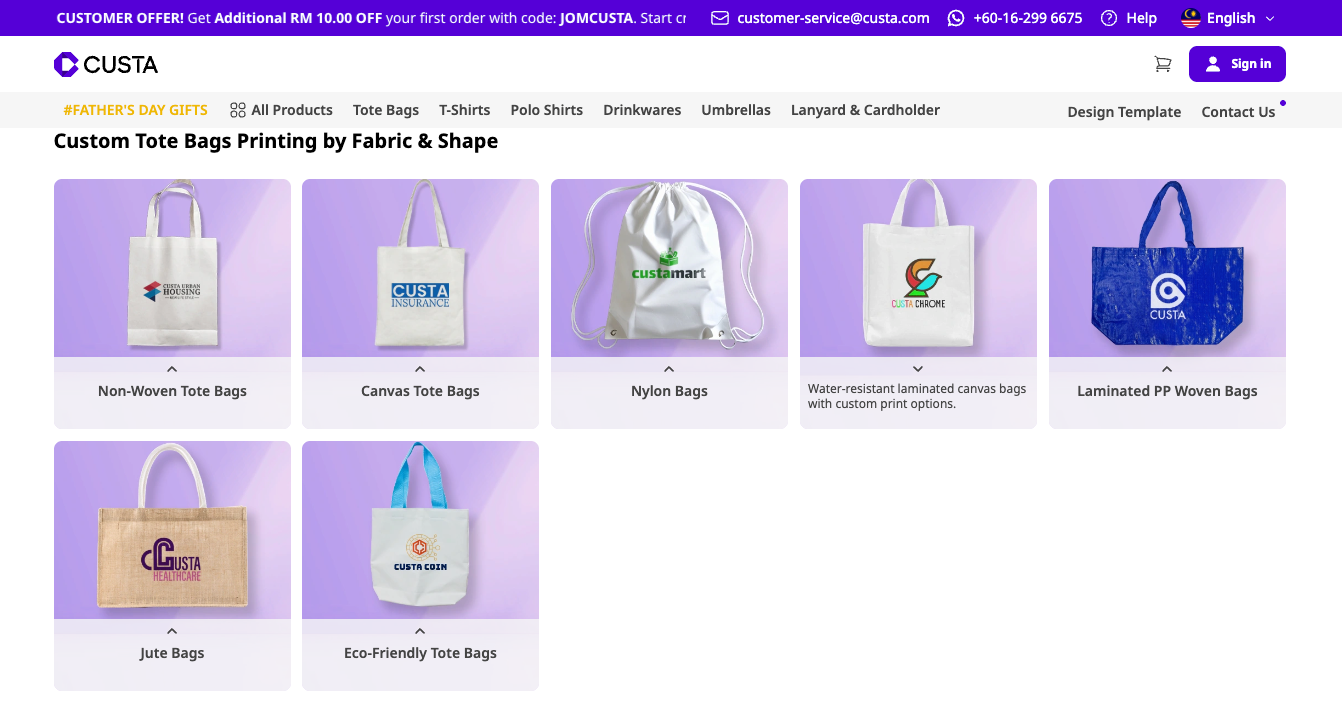
Choose Your type of Tote Bag: Pick your preferred fabric that is suitable for your branding needs and budget directly on our CUSTA merchandise platform!
Step 2: Select Your Print Method & Size
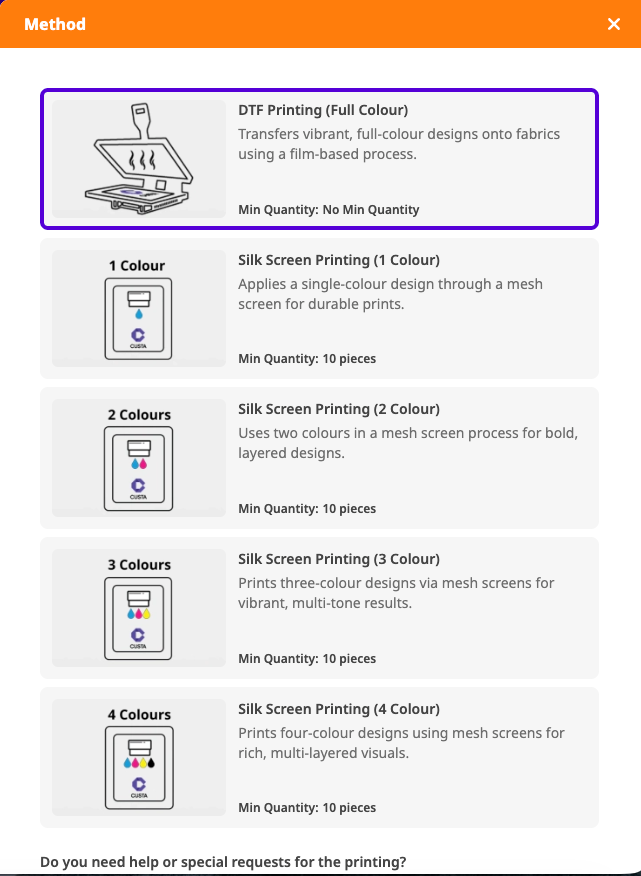
Select Your Print Method: Select your preferred printing method technique based on your design's complexity, color count, and order volume — DTF Printing, Silkscreen and Sublimation.
DTF Printing — Full Colour: Transfers vibrant, full-color designs onto fabrics using a film-based process. No Minimum Quantity (Great for single items or small batches).
Silkscreen Printing: Applies designs through a mesh screen. This method requires a minimum order of 10 pieces and is categorized by the number of colors in your design:
1 Colour:Applies a single-color design for durable prints.
2 Colours:Uses two colors for bold, layered designs.
3 Colours: Prints three-color designs for vibrant, multi-tone results.
4 Colours: Prints four-color designs for rich, multi-layered visuals.
Sublimation: Best for detailed artwork, large or edge to edge printing area with a minimum order of 100+ pieces.
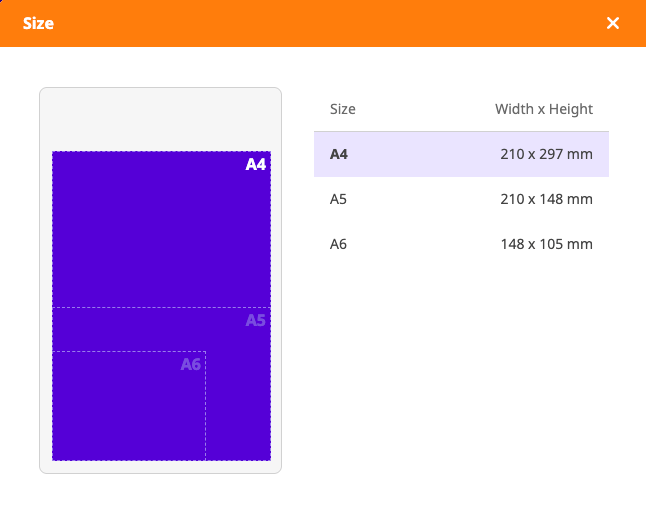
Select your Print Size: Select the physical dimensions of the print area on your product.
Before finalizing your dimensions, check out how to Customize a Blank Tote for creative inspiration and design tips.
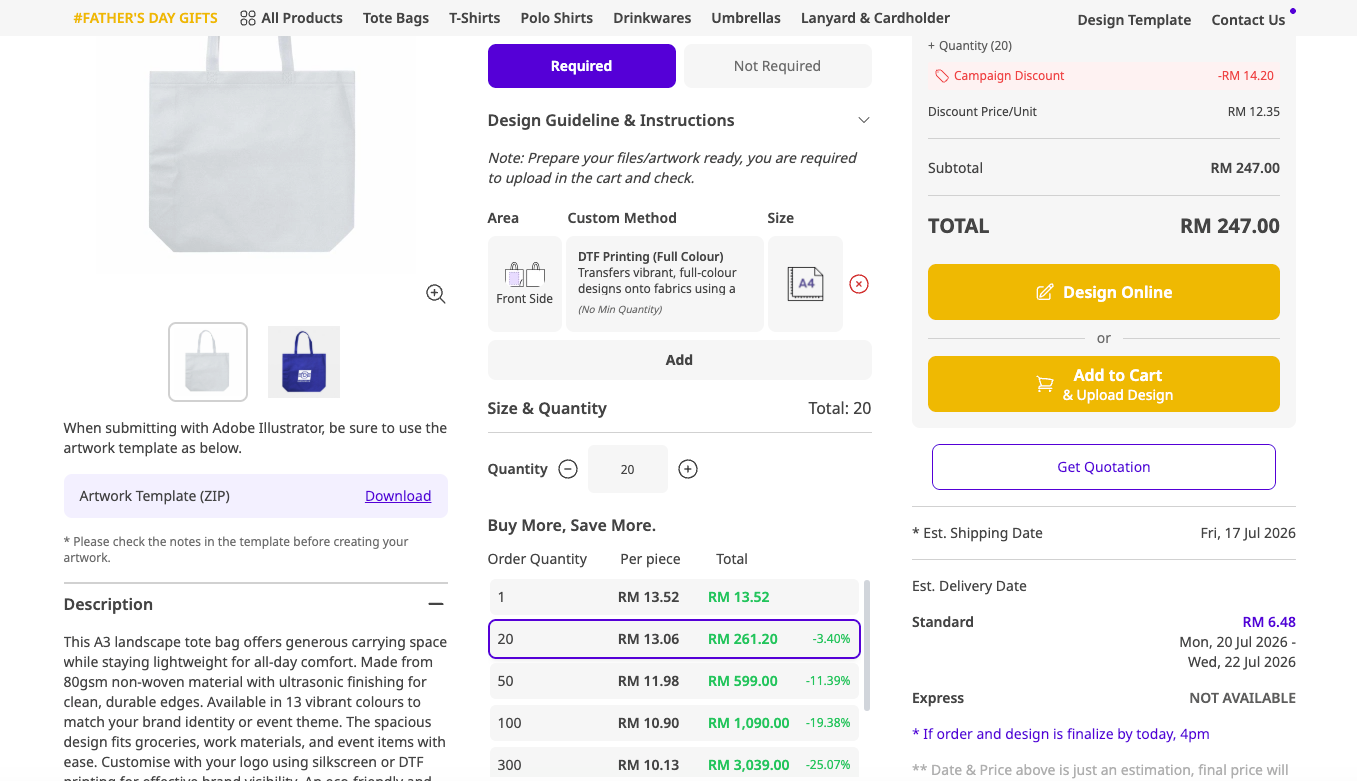
Select Your Quantity: Make sure your order meets our standard bulk tier minimum of 20 pieces or more to unlock commercial pricing discounts and activate the checkout page.
Once your bag style is locked in, click “Design Online” to start designing your product.
Step 3: Meet Your Sidebar Toolkit — Upload Your Artwork
When the editor opens, you will see a live 3D digital mockup of your selected tote bag in the center, flanked by a creative toolbox on the left side. To build your layout, you can navigate between these six primary options.
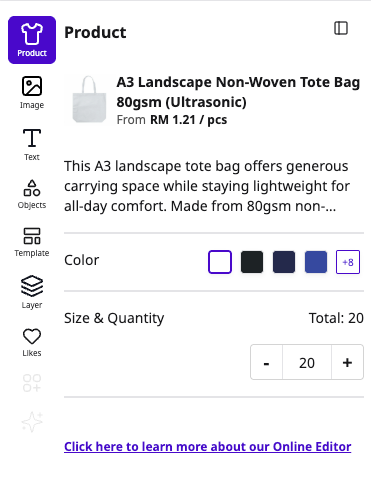
Product: This is where you can see the summary of your selected bag. You also can quickly toggle the fabric color swatch or adjust your total size & quantity counters directly from the designer workspace without having to jump back to the main storefront page.
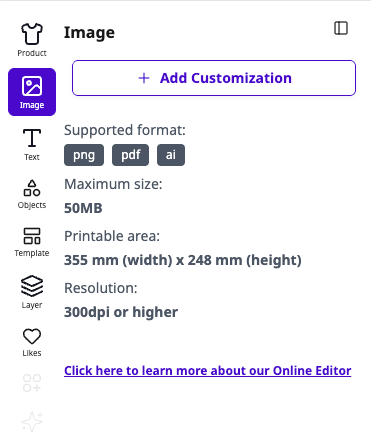
Image: This is where you upload your custom artwork files, corporate logos, or brand graphics. For a professional finish, make sure to upload a high-resolution file—PNG, PDF, AI file are the supported file formats.
Printable Area: Keep your image entirely inside the 245mm x 131mm bounding box to avoid cut-off margins.
Resolution Requirement: Ensure your artwork is 300dpi or higher. This stops pixelation and ensures a razor-sharp final print on the canvas weave!
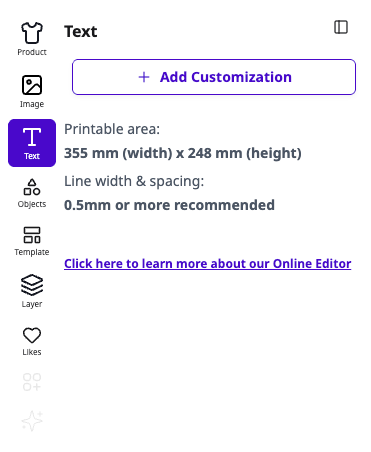
Text: Click the + Add Customization to add brand names, slogans, or customize the font style and alignment.
Printable Area: For the A5 Canvas Bag 8oz, your safe zone is exactly 245mm x 131mm. Keep your text box inside the purple line to make sure your text is printable.
Font Thickness: Fabric has a textured weave, so tiny or ultra-thin fonts can print blurry. Keep your font line width and spacing at 0.5mm or more for a crisp, clean look. Standard bold or medium-weight fonts work best!
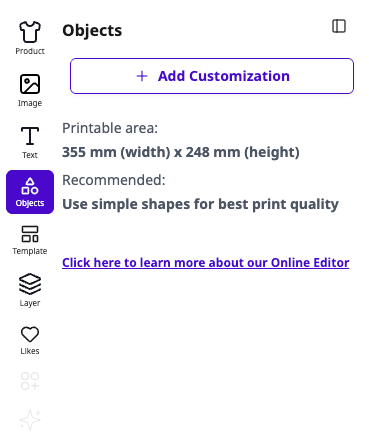
Object: This is where to add built-in graphic elements like icons, borders, or accents to your layout. Every single item inside our graphic library is completely free. You can add as many icons or accents as you want with no additional payment or hidden costs.
Printable Area: For the A5 Canvas Bag, your safe zone remains exactly 245mm x 131mm. Make sure your objects do not cross outside this boundary box.
Design Quality Tip: The system recommends you use simple shapes for best print quality. Clean vectors and solid shapes stand out much better against the textured weave of a canvas tote bag!
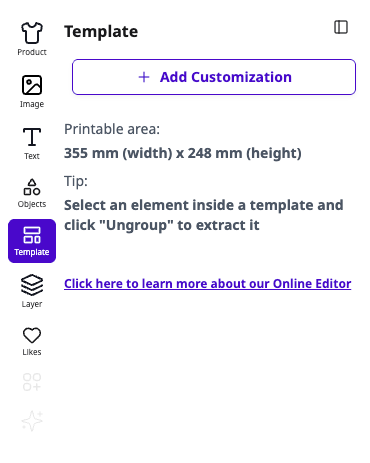
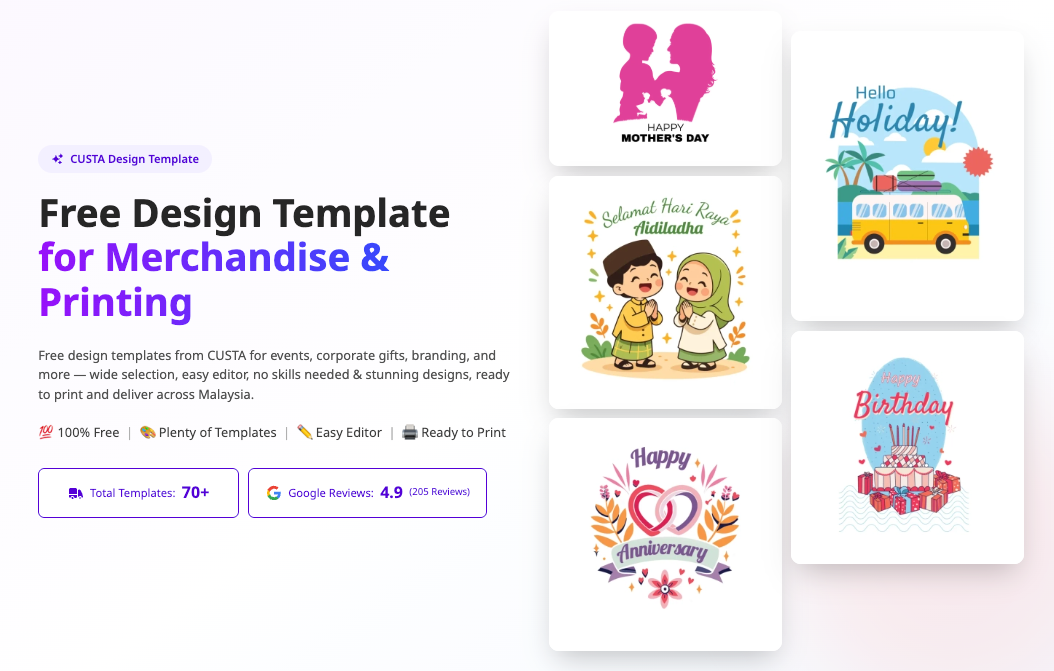
Template: This is where you can browse our library of pre-made design layouts. You can search through categories like Celebrations, Corporate, for Team, or School. Every layout is 100% free to use.
To get the best look instantly, look specifically under the Tote Bags collection. These layouts are shaped specifically for our bags, though you can also use designs from all or Shirts & Apparel categories.
Printable Area: For our A5 Canvas Bag, ensure your template elements stay inside the 245mm x 131mm zone.
Ready to bring your ideas to life without the hassle of designing from scratch?
Explore our extensive library of pre-made design layouts, where you can browse popular categories like Celebrations, Corporate, Team, or School—and yes, every single layout is 100% free to use! For the absolute best look instantly, we recommend checking out our dedicated Tote Bags collection, which features layouts perfectly shaped to fit our bags. If you are customizing our A5 Canvas Bag, just make sure to keep your template elements inside the 245mm x 131mm printable zone to ensure a flawless finish. Dive in, choose your favorite template, and start creating today!
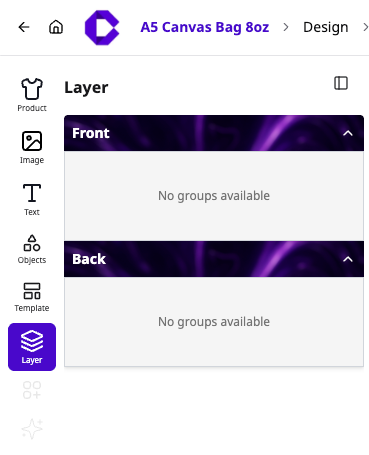
Layer: This is to manage all the individual design layers on the tote bag. It will work like an organization map of your artwork.
Step 4: The Final Review & Checkout
Once your design is perfectly positioned and all warning alerts are cleared, you are ready to finalize your custom tote bag order.
Double-Check Your Work: Take a final look at your layout preview. Read through your text layers one last time to catch any spelling mistakes (typos) and ensure your image contrast looks exactly how you want it.
Verify Your Quantity: Re-confirm your canvas fabric colors and your final order quantity in the product panel.
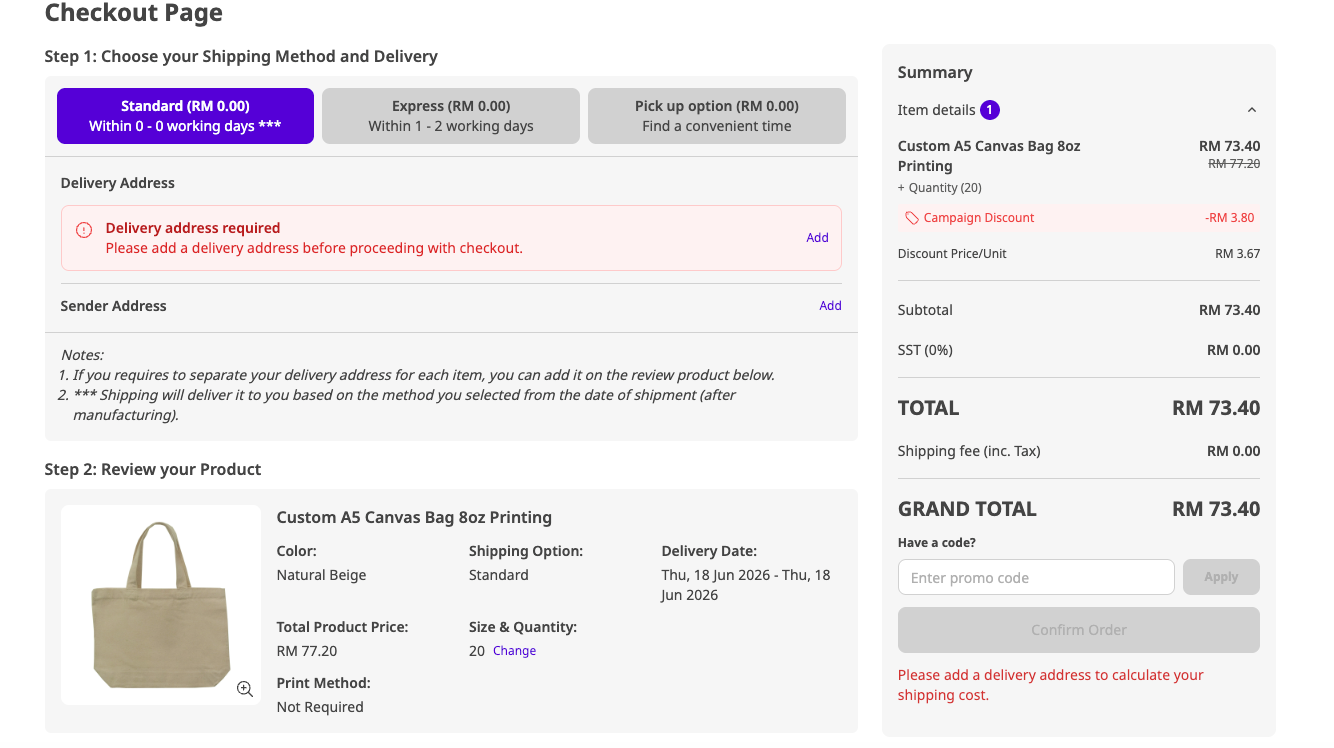
Click to Complete: Click the Checkout button at the top of the design window to enter your delivery address, choose your payment method, and submit your order to our queue.
Ready to Impress Your Guests?
For customization merchandise, design printing, or premium gift bundles, please contact our Sales support team for a personalized quote.