The CUSTA Online Design Editor is a high-performance, browser-based design suite optimized for desktop use. It serves as the bridge between your digital concept and our physical production line. This guide provides a deep dive into the features designed to ensure your corporate or professional standards.
How to Use The Online Editor.
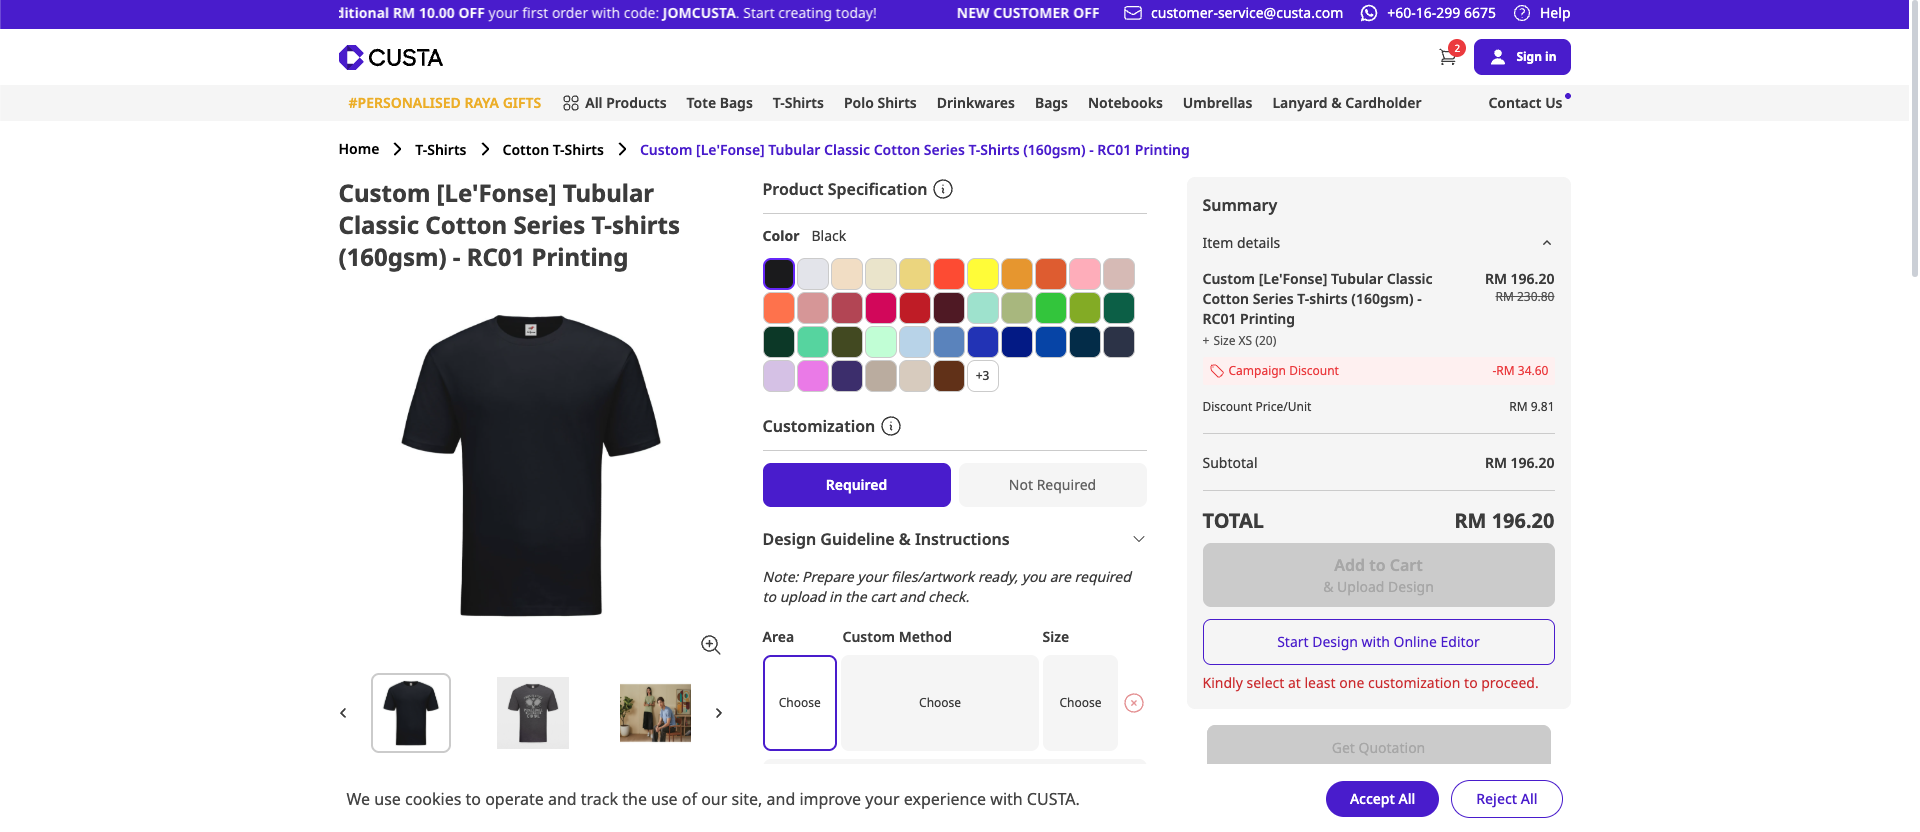
Step 1 : Select your product and base options.
First, choose your product from categories such as Apparel, T-shirts, or accessories. Then, select the color, size, and material before entering the editor mode. Finally, choose the printing method such as Silkscreen, DTF, or Embroidery.
Step 2 : Prepare and upload your designs.
Upload a high- resolution file ideally a vector (AI, EPS, SVG) or a 300 DPI image (PNG, JPG) by clicking upload or dragging it onto the canvas. If you are using a PNG for DTF printing, please ensure the background is transparent.
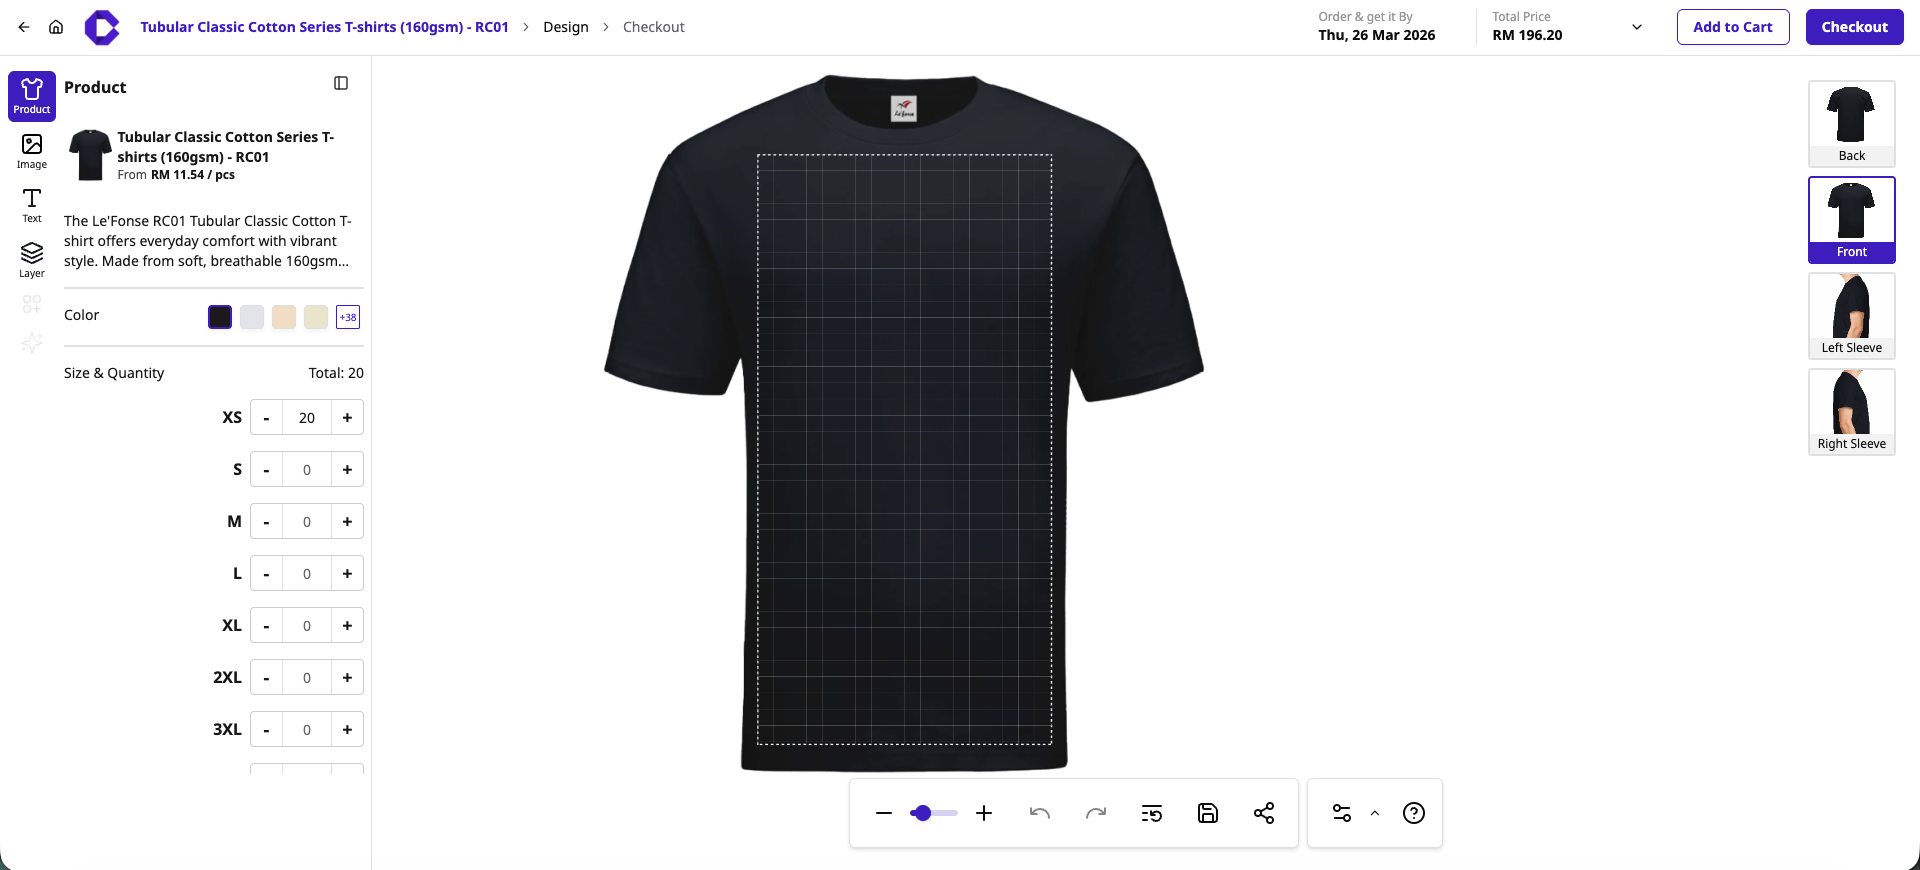
Step 3 : Position and scale your design.
Select your printing position (front, back, chest, or collar) and ensure your design stays within the editor's safe print area to avoid cutoff. Use the text tool to add names or numbers, and the layer function to organize elements by placing text above or below images. You can also resize and move your design freely to fit the printable area perfectly.
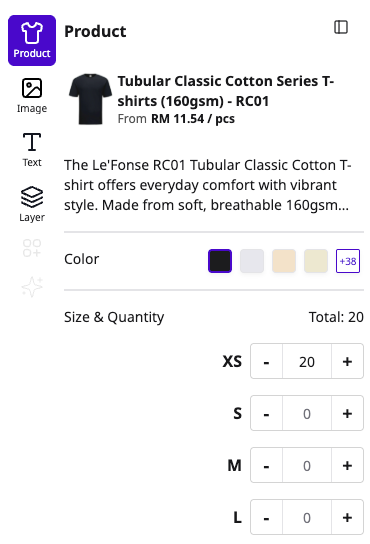
1. Add product :
Choose you preferred color that available and then scroll down to the size and quantity section to specify how many shirts you need for each size.
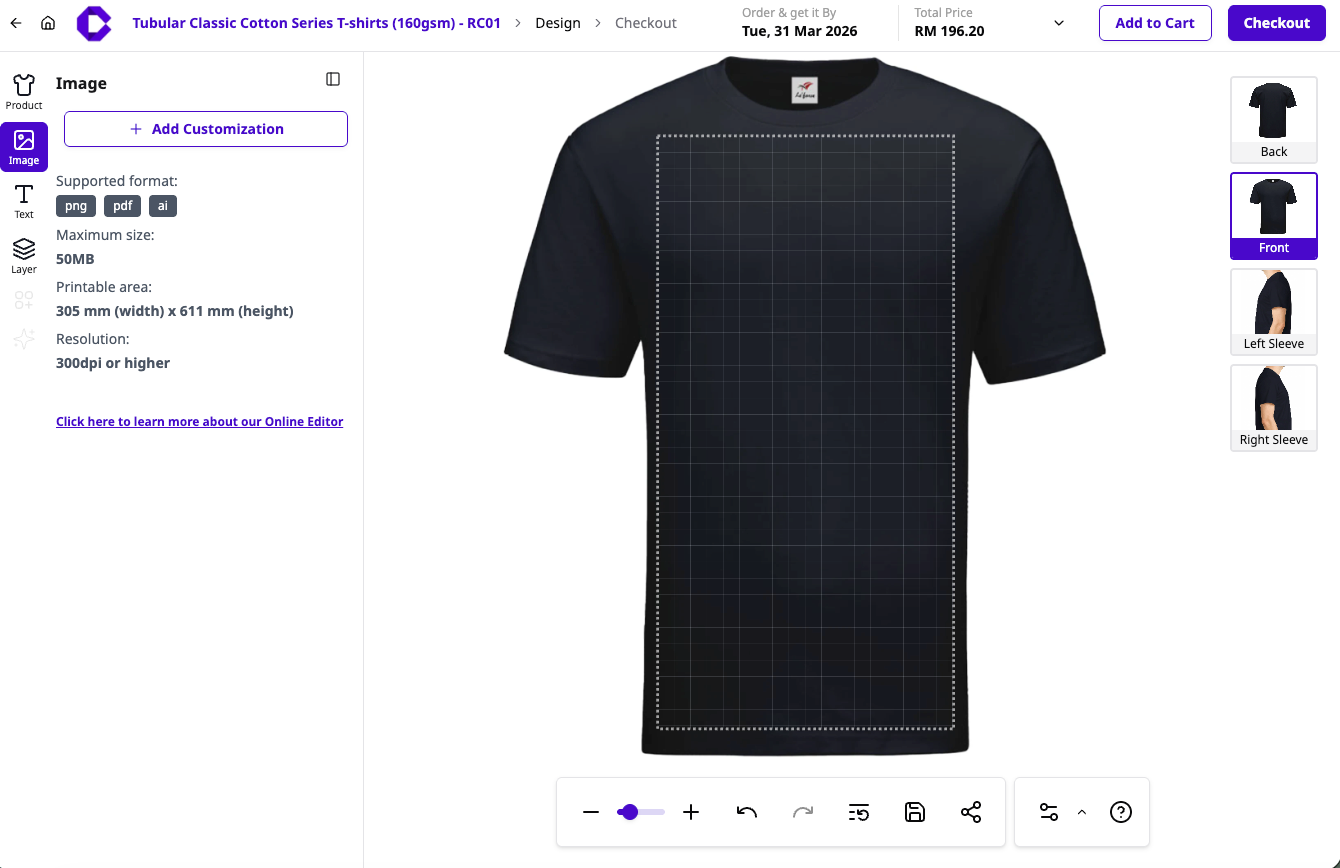
2. Add Image :
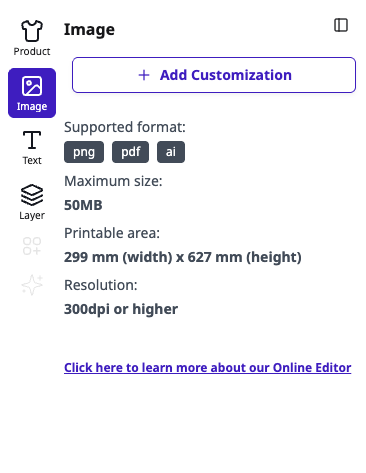
a) Add image : To design your product, click +Add Customization in the image tab to upload your artwork (PNG, PDF, or AI). For the best print quality, ensure your file is under 50MB and at least 300 dpi to fit within the 299 mm x 627 mm printable area.
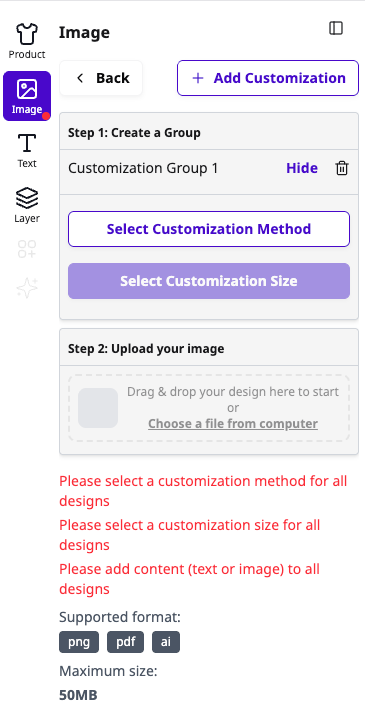
b) Add customization : To add a customization, click the + Add Customization button, select your preferred method and size, and then proceed to upload your artwork. You can either drag and drop your file into designated area or click "Choose a file from computer" to select a PNG, PDF, or AI file.
3. Add text :
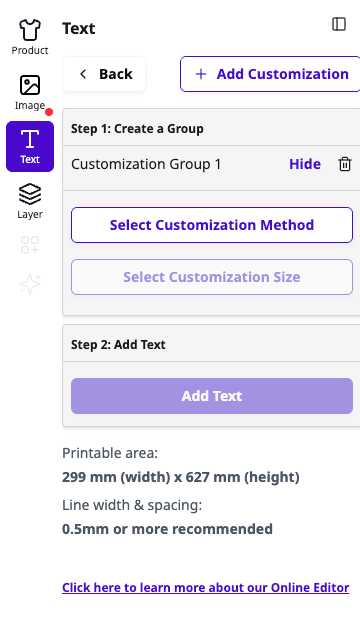
a) Add text : To add text, click +Add customization under the text tab to type your message. For a clear and sharp print, stay within the 299 mm x 627 mm area and ensure your font line width and spacing are at least 0.5mm.
b) Add customization : You must first configure your print settings by clicking "select customization method" to choose your preferred printing technique and select customization size to define your print dimensions. These selections are mandatory as they activate the next step, allowing the system to prepare the correct layout and tools for your specific design requirements.
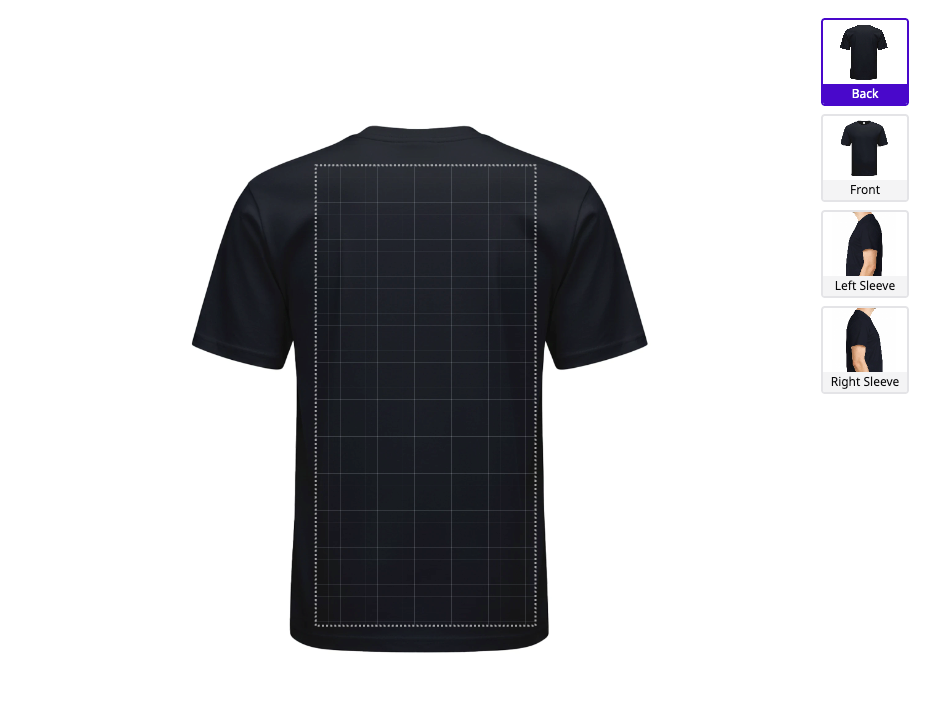
4. Add layer :
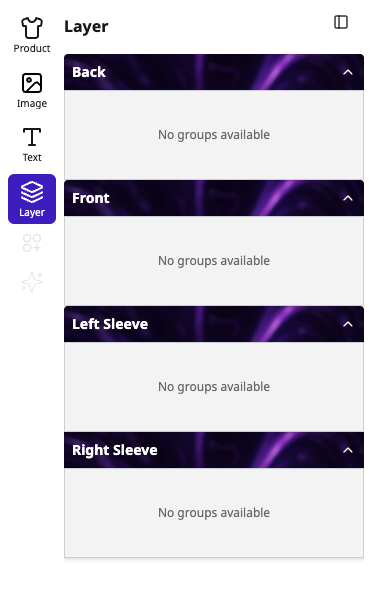
Use the layer tab to manage and organize your designs across different parts of the product, such as the front, back, or sleeves. Beyond just organizing, this tool allows you to easily move or drag your design elements between customization locations to ensure your artwork is perfectly placed. This is especially useful for balancing multiple assets and maintaining a consistent look across all printable areas of your shirt.
Step 4 : Save, preview and share.
Before finalizing, use the editor tools to save your progress or preview your design to see how it looks on the actual products. You can find the real-time price updates as you add customizations, and if you need a second option, use the share feature to send your design to others. If you need to make changes, you can always go back and continue editing from this stage.
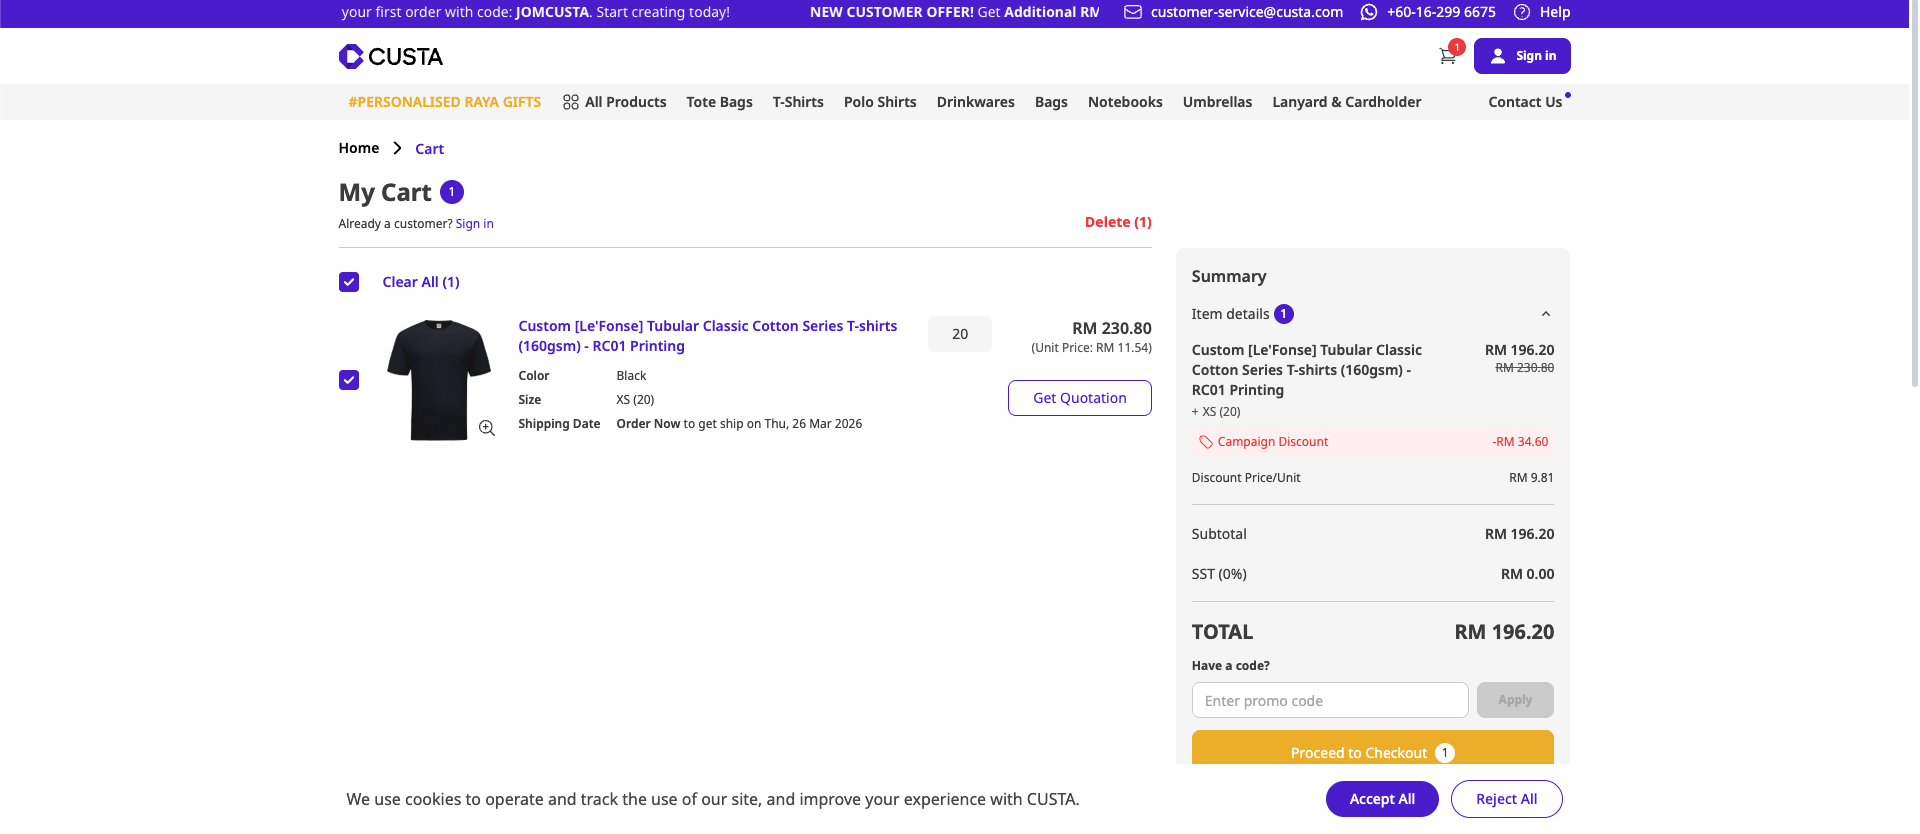
Step 5 : Final review and checkout.
Finally, review your design carefully and check the spelling of any custom text. Make sure all customizations are correctly selected before adding the item to your cart. Even at the My Cart page, you can still click on the product to return to the online editor if you need to perform any last-minute edits before proceeding to checkout.
The Basic Need to Know Using Design Editor:
Do I Need Design Experience to Use the Editor Tool?
Not at all . If can use basic software or a smartphone, you can design with CUSTA. Our interface is built on a drag-and-drop system. We provide built-in-fonts, shapes, and clipart to help you build your design from scratch without needing external design software like Photoshop or Illustrator.
Can I Design Using My Phone or Tablet?
No, to maintain the highest level of design precision, the CUSTA Online Editor currently supports Desktop and Laptop browsers only. While we focus on the desktop experience for now to ensure quality for the users, we are actively developing a mobile-optimized version for future release.
What Does "Add New Customization" Mean?
This is feature that allows you to expand your branding. Clicking this button lets you add new print areas to your product. For example, if you have a logo on the front, you can use this button to add a secondary design to the back, left sleeve or nape.
How Do I Remove an Image From My Design?
You can simply click on the image or element you wish to remove and hit the "delete" key on your keyboard, or click the Trash icon that appears in the element's toolbar.
Can I Save My Design and Finish It Later?
How to save : Simply click the "save for later" or "add to wishlist" icon in the top toolbar.
Requirements : You must be logged into your CUSTA account to ensure the design is saved to your personal dashboard. If you are in "guest mode," the design is only cached in your browser. If your history is cleared, the design may be lost.
Can I Use Very Small Width or Spacing in My Design?
To ensure your print stays on the fabric wash after wash, we recommend a minimum line thickness of 0.5 mm to 1 mm
Why : Lines thinner than this may not "bind" properly to the fabric fibers, which could lead to peeling or fading after the first laundry cycle.
The editor check : If your design features extremely thin lines or tiny text, our editor may flag it for a "printability check" during checkout to ensure we can produce it at the highest quality.
Can I Combine Printing and Embroidery?
At CUSTA, we allow you to mix methods to achieve a premium look. However, because each method uses different machinery (heat press vs. needle and thread), you should follow these placement guidelines;
Best practices for a combination
Separated placements : The most common way to do this is to have an embroidered logo on the left chest for a premium feel, and a large DTF or silkscreen print on the back for high-impact visibility.
Layered design : Some brands choose to embroider a small detail over a printed background. This creates a 3D texture.
Advantages of mixing methods
Premium branding : Embroidery adds a "luxury" feel to the front, while printing allows for colorful, complex graphics on the back that would be too heavy if embroidered.
Durability : Using embroidery for the small, high-frequency "touch points" (like chest logos) ensures that the most visible part of the brand never fades.
Cost-savings tips :
Size matters
Tips : Always use printing (DTF or Silkscreen) for large designs, such as a big logo across the back.
Why : Embroidery costs are based on "stitch count." A large embroidered design can be very expebsive and heavy. Printing a large area is much more affordable and keeps the garment lightweight.
The premium front
Tips : Use embroidery for small, high-impact logos on the left chest and printing for everything else.
Why : A small embroidered logo gives the entire shirt a "luxury" feel for a low cost, while the cheaper printing handles the larger, more colorful details.
Placement consolidation
Tips : If your designs has many colors or fine details, choose DTF printing. If you want a simple, 3D professional look, choose Embroidery.
Why : Trying to embroider complex, multi-colored gradients is technically difficult and costly. DTF handles unlimited colors at one flat price, saving you "digitizing" and thread fees.
Detail vs texture
Tips : If your designs has many colors or fine details, choose DTF printing. If you want a simple, 3D professional look, choose embroidery.
Why : Trying to embroider complex, multi-colored gradients is technically difficult and costly. DTF handles unlimited colors at one flat price, saving you "digitizing" and thread fees.
Ready to Impress your Guests?
For customization merchandise, design printing, or premium gift bundles, please contact our Sales support team for a personalized quote.