
Welcome to the customization tool! To make sure your custom merchandise looks exactly how you imagined it, we’ve put together this simple guide to help you understand Print Sizes and the Bleed Line.
When you start designing, you’ll see several size options. Think of these as the “frame” for your artwork. Choosing the right frame ensures your design isn’t too small to see or too large for the shirt.

| Size | Printing Area | Best For | Why Choose This? |
|---|---|---|---|
| A3 (Large) |
|
Big, Bold Graphics | This is the largest option. It's perfect if you want your design to cover most of the chest or back for a "streetwear" look. |
| A4 (Medium) |
|
Standard T-Shirt Logos | This is our most popular size. It fits perfectly in the center of the chest and looks great on everyone, from Size S to 3XL. |
| A5 (Small) |
|
Large Logos or Text | Great for wide designs or medium-sized graphics that you want to sit a bit higher on the chest. |
| A6 (Pocket) |
|
Small Branding | Ideal for "Left-chest" logos, sleeve prints, or small logos on the back near the neck. |
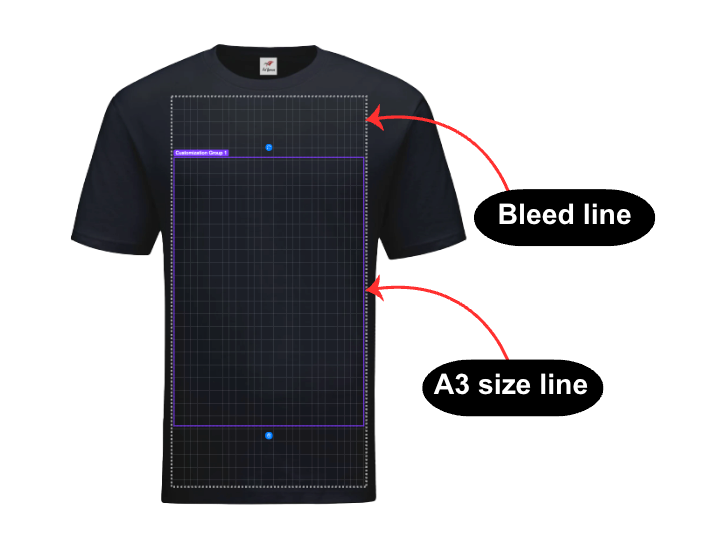
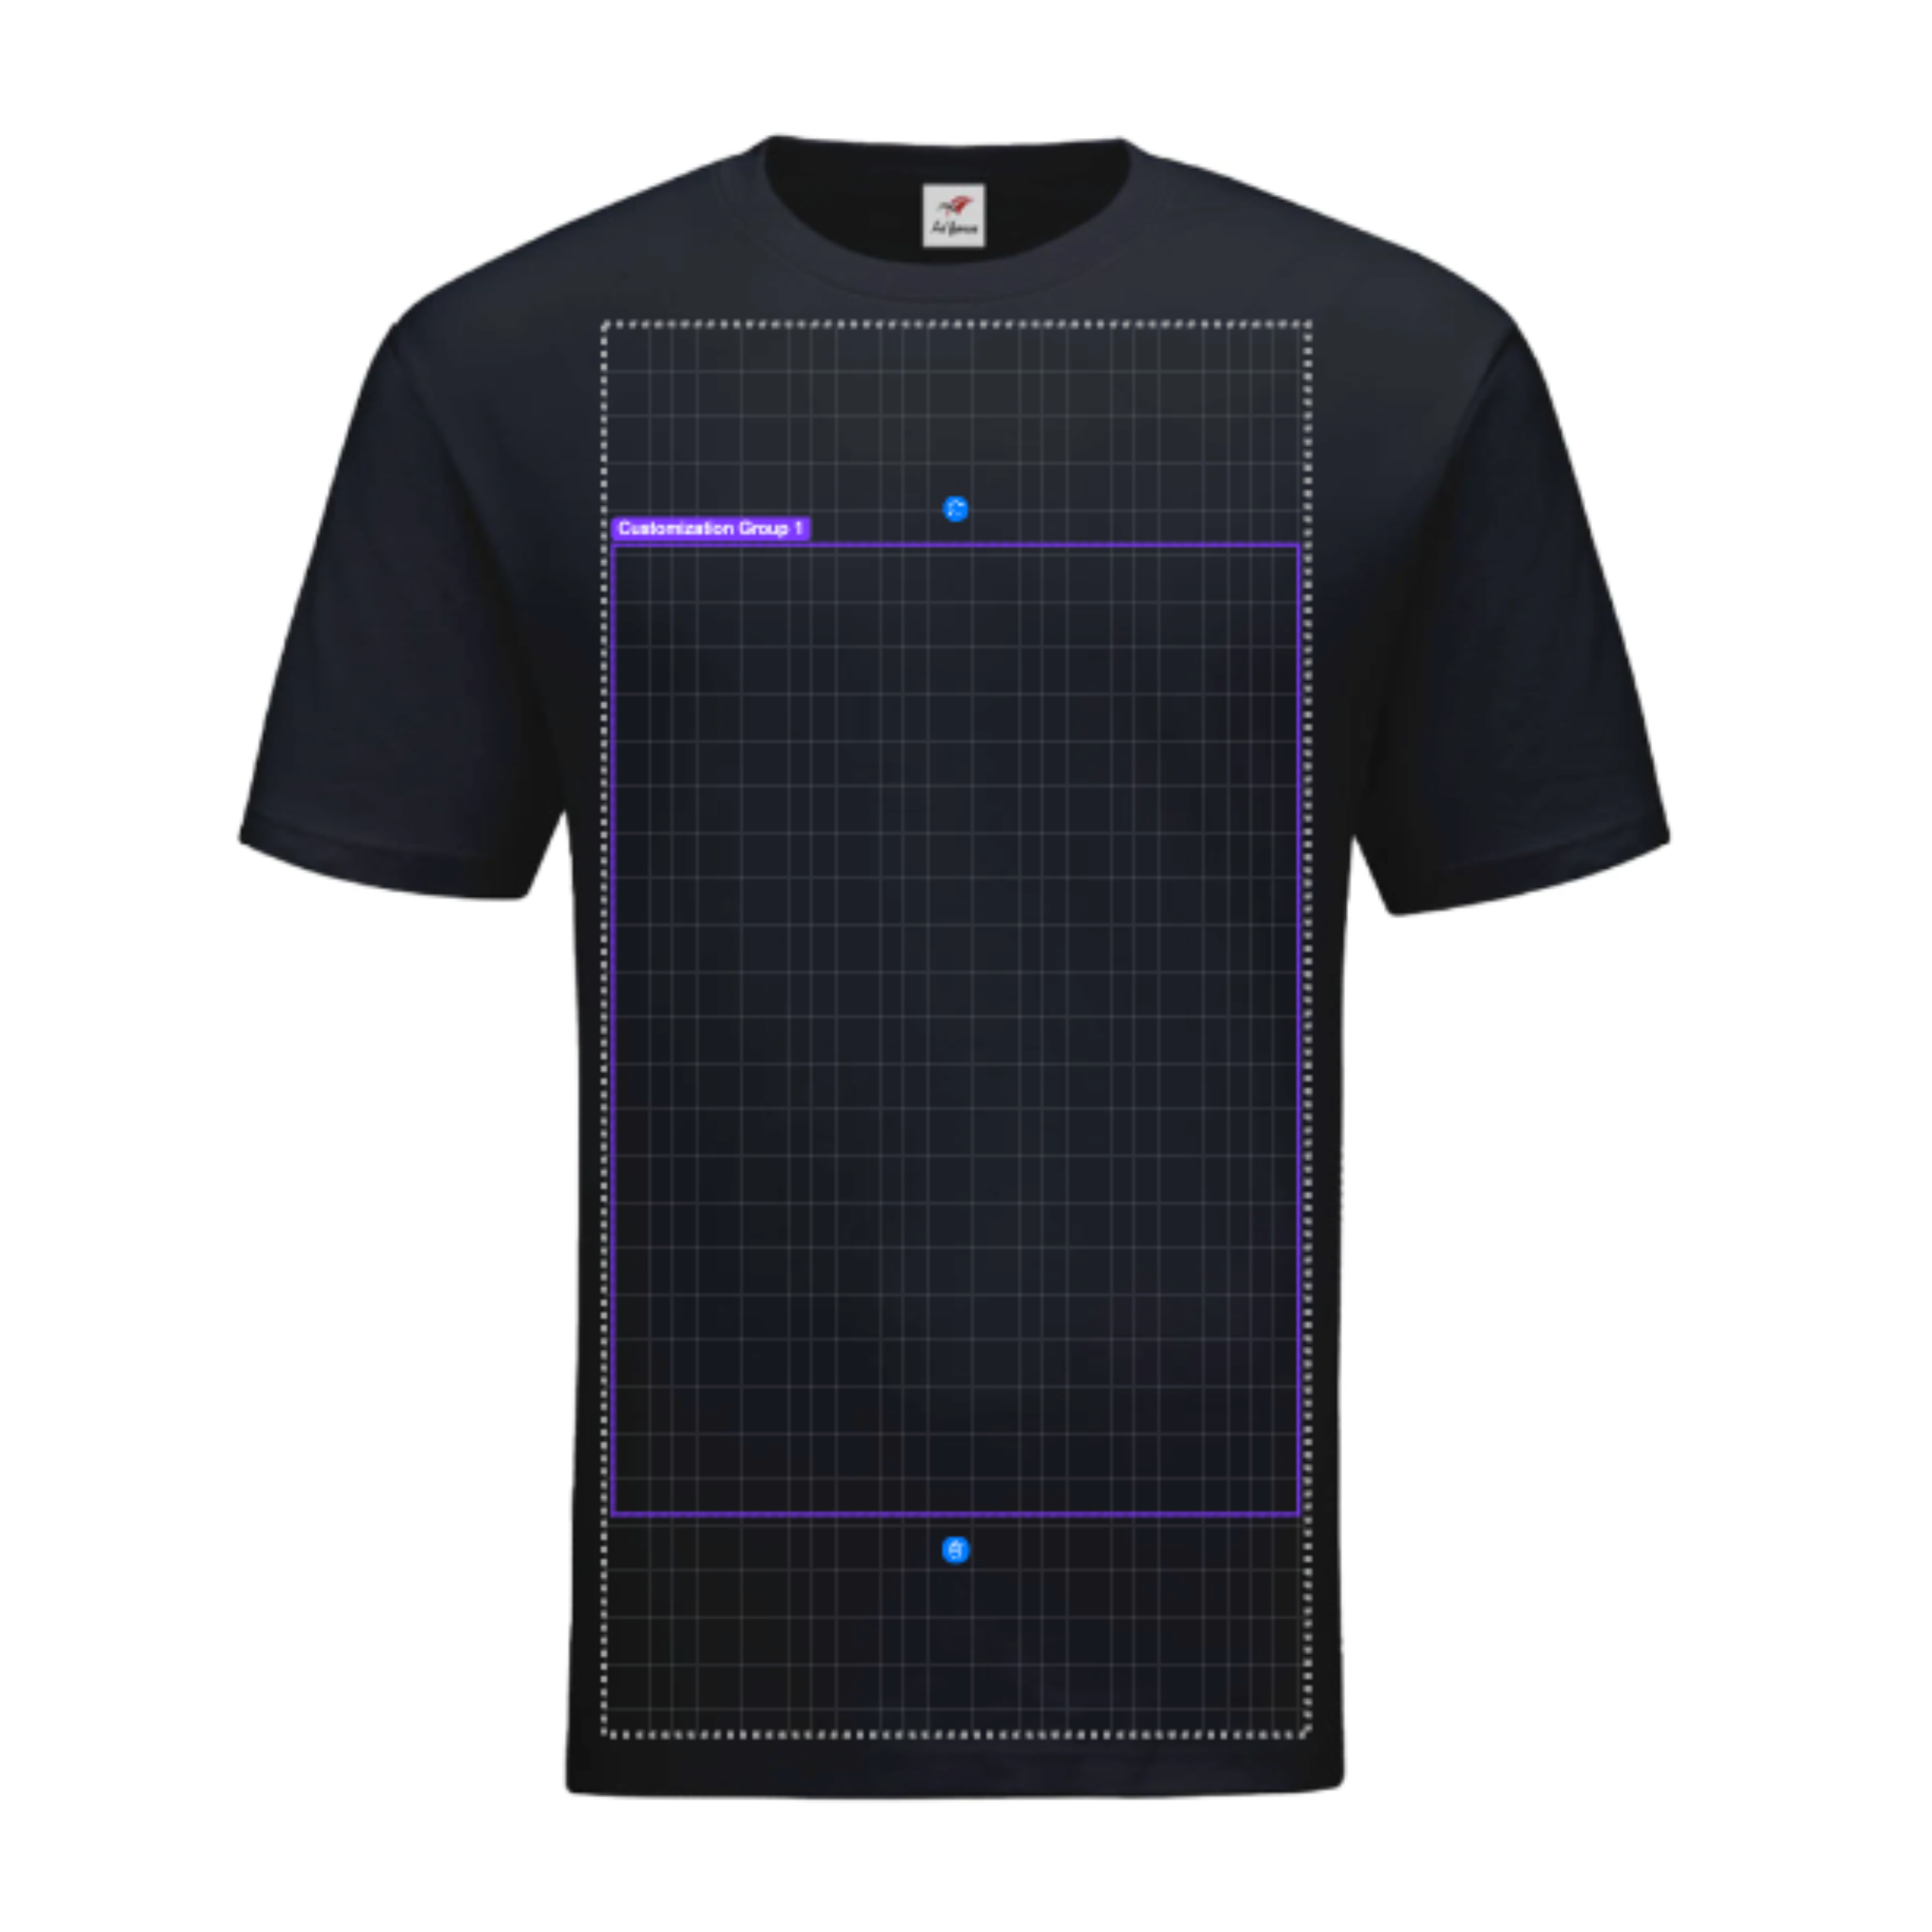
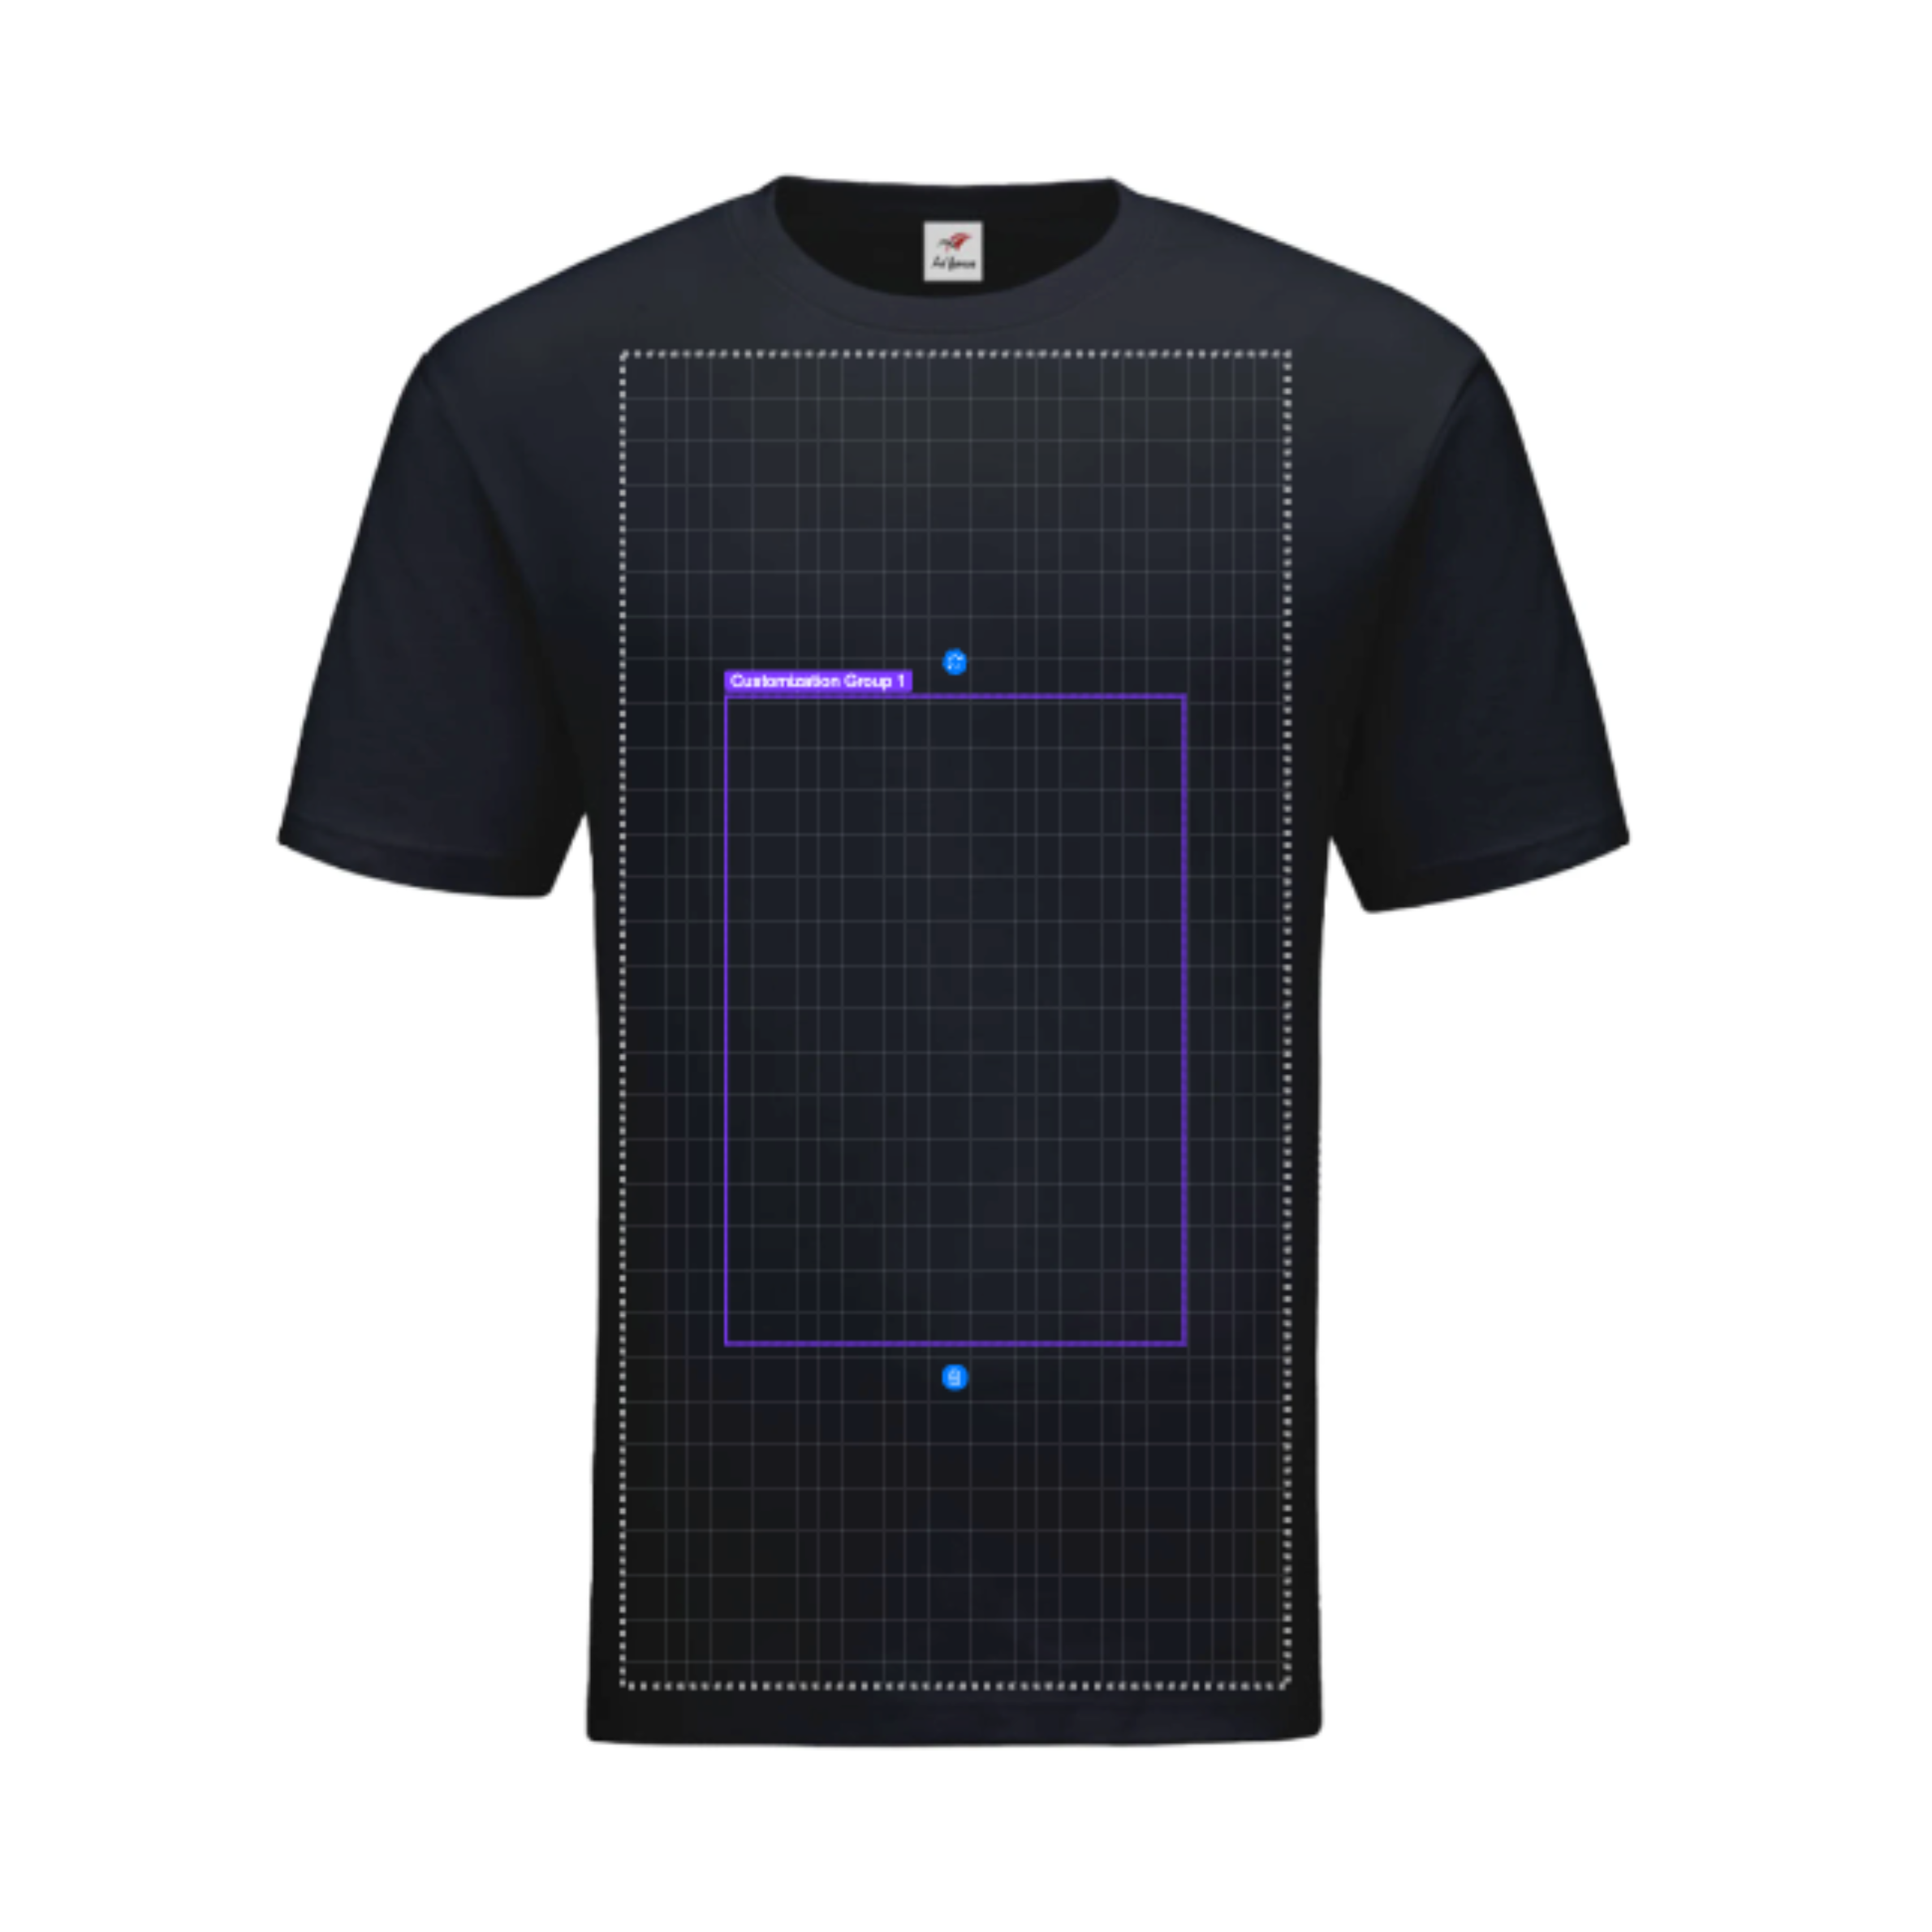
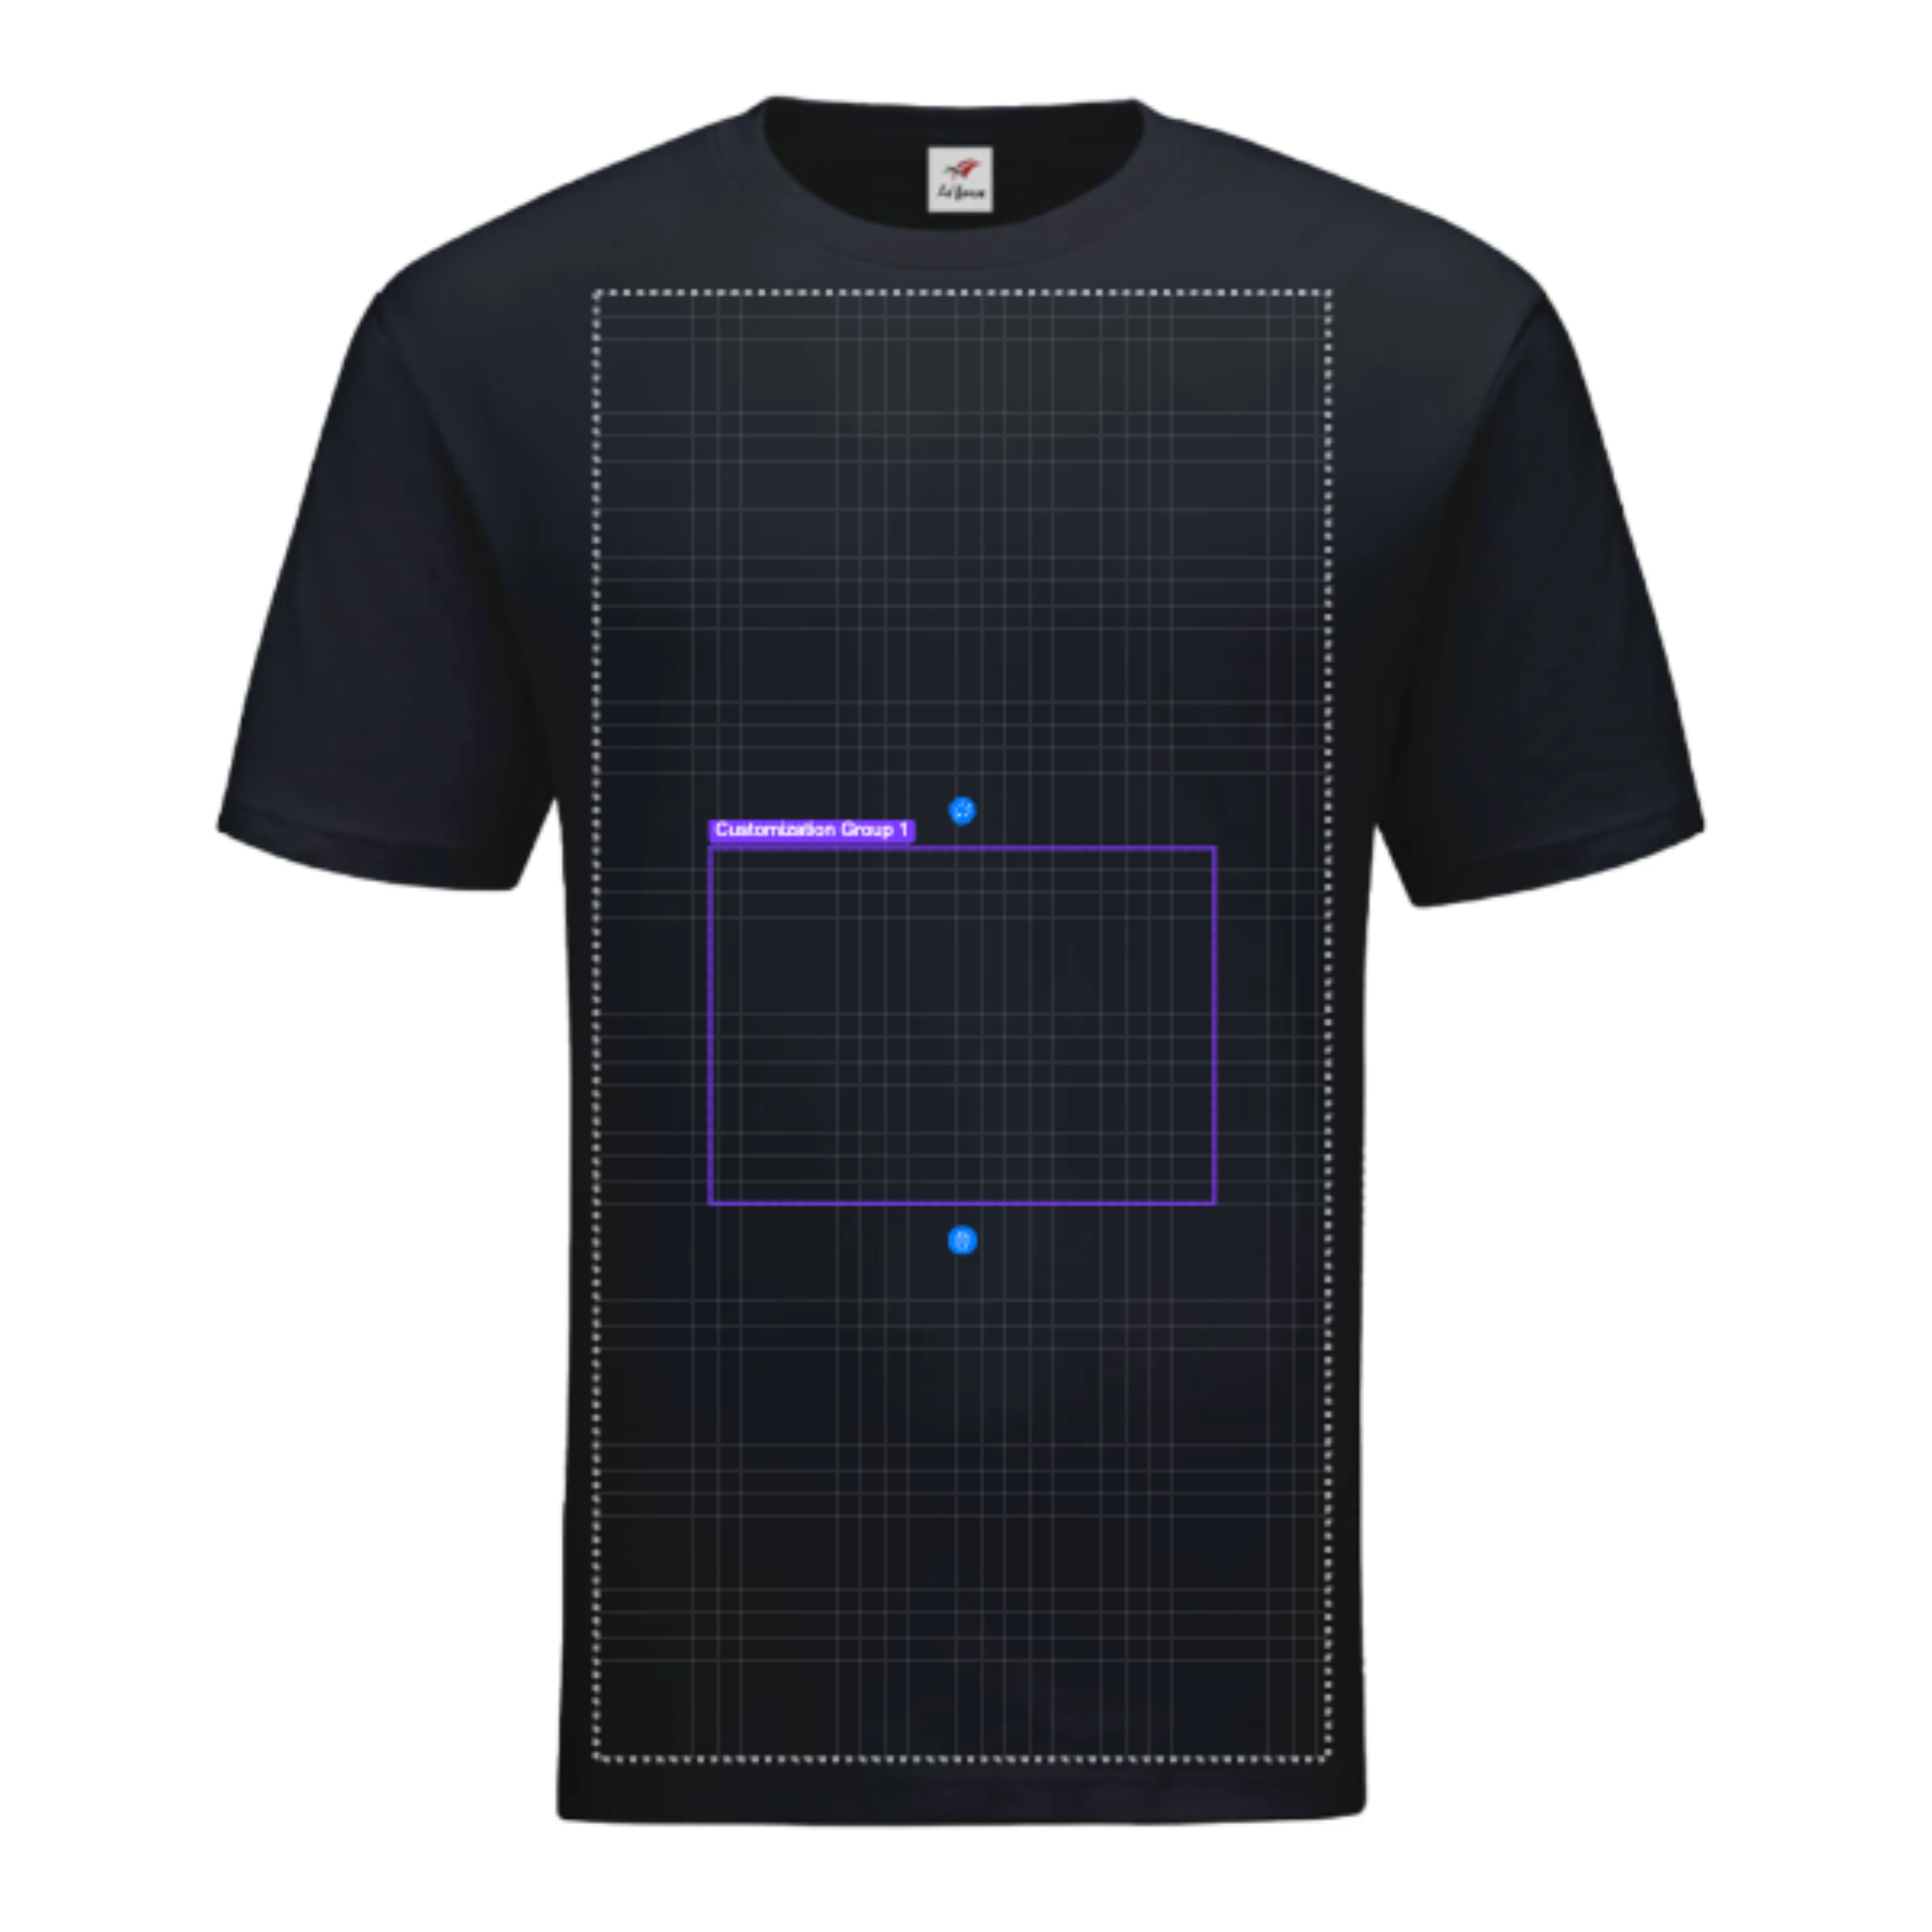
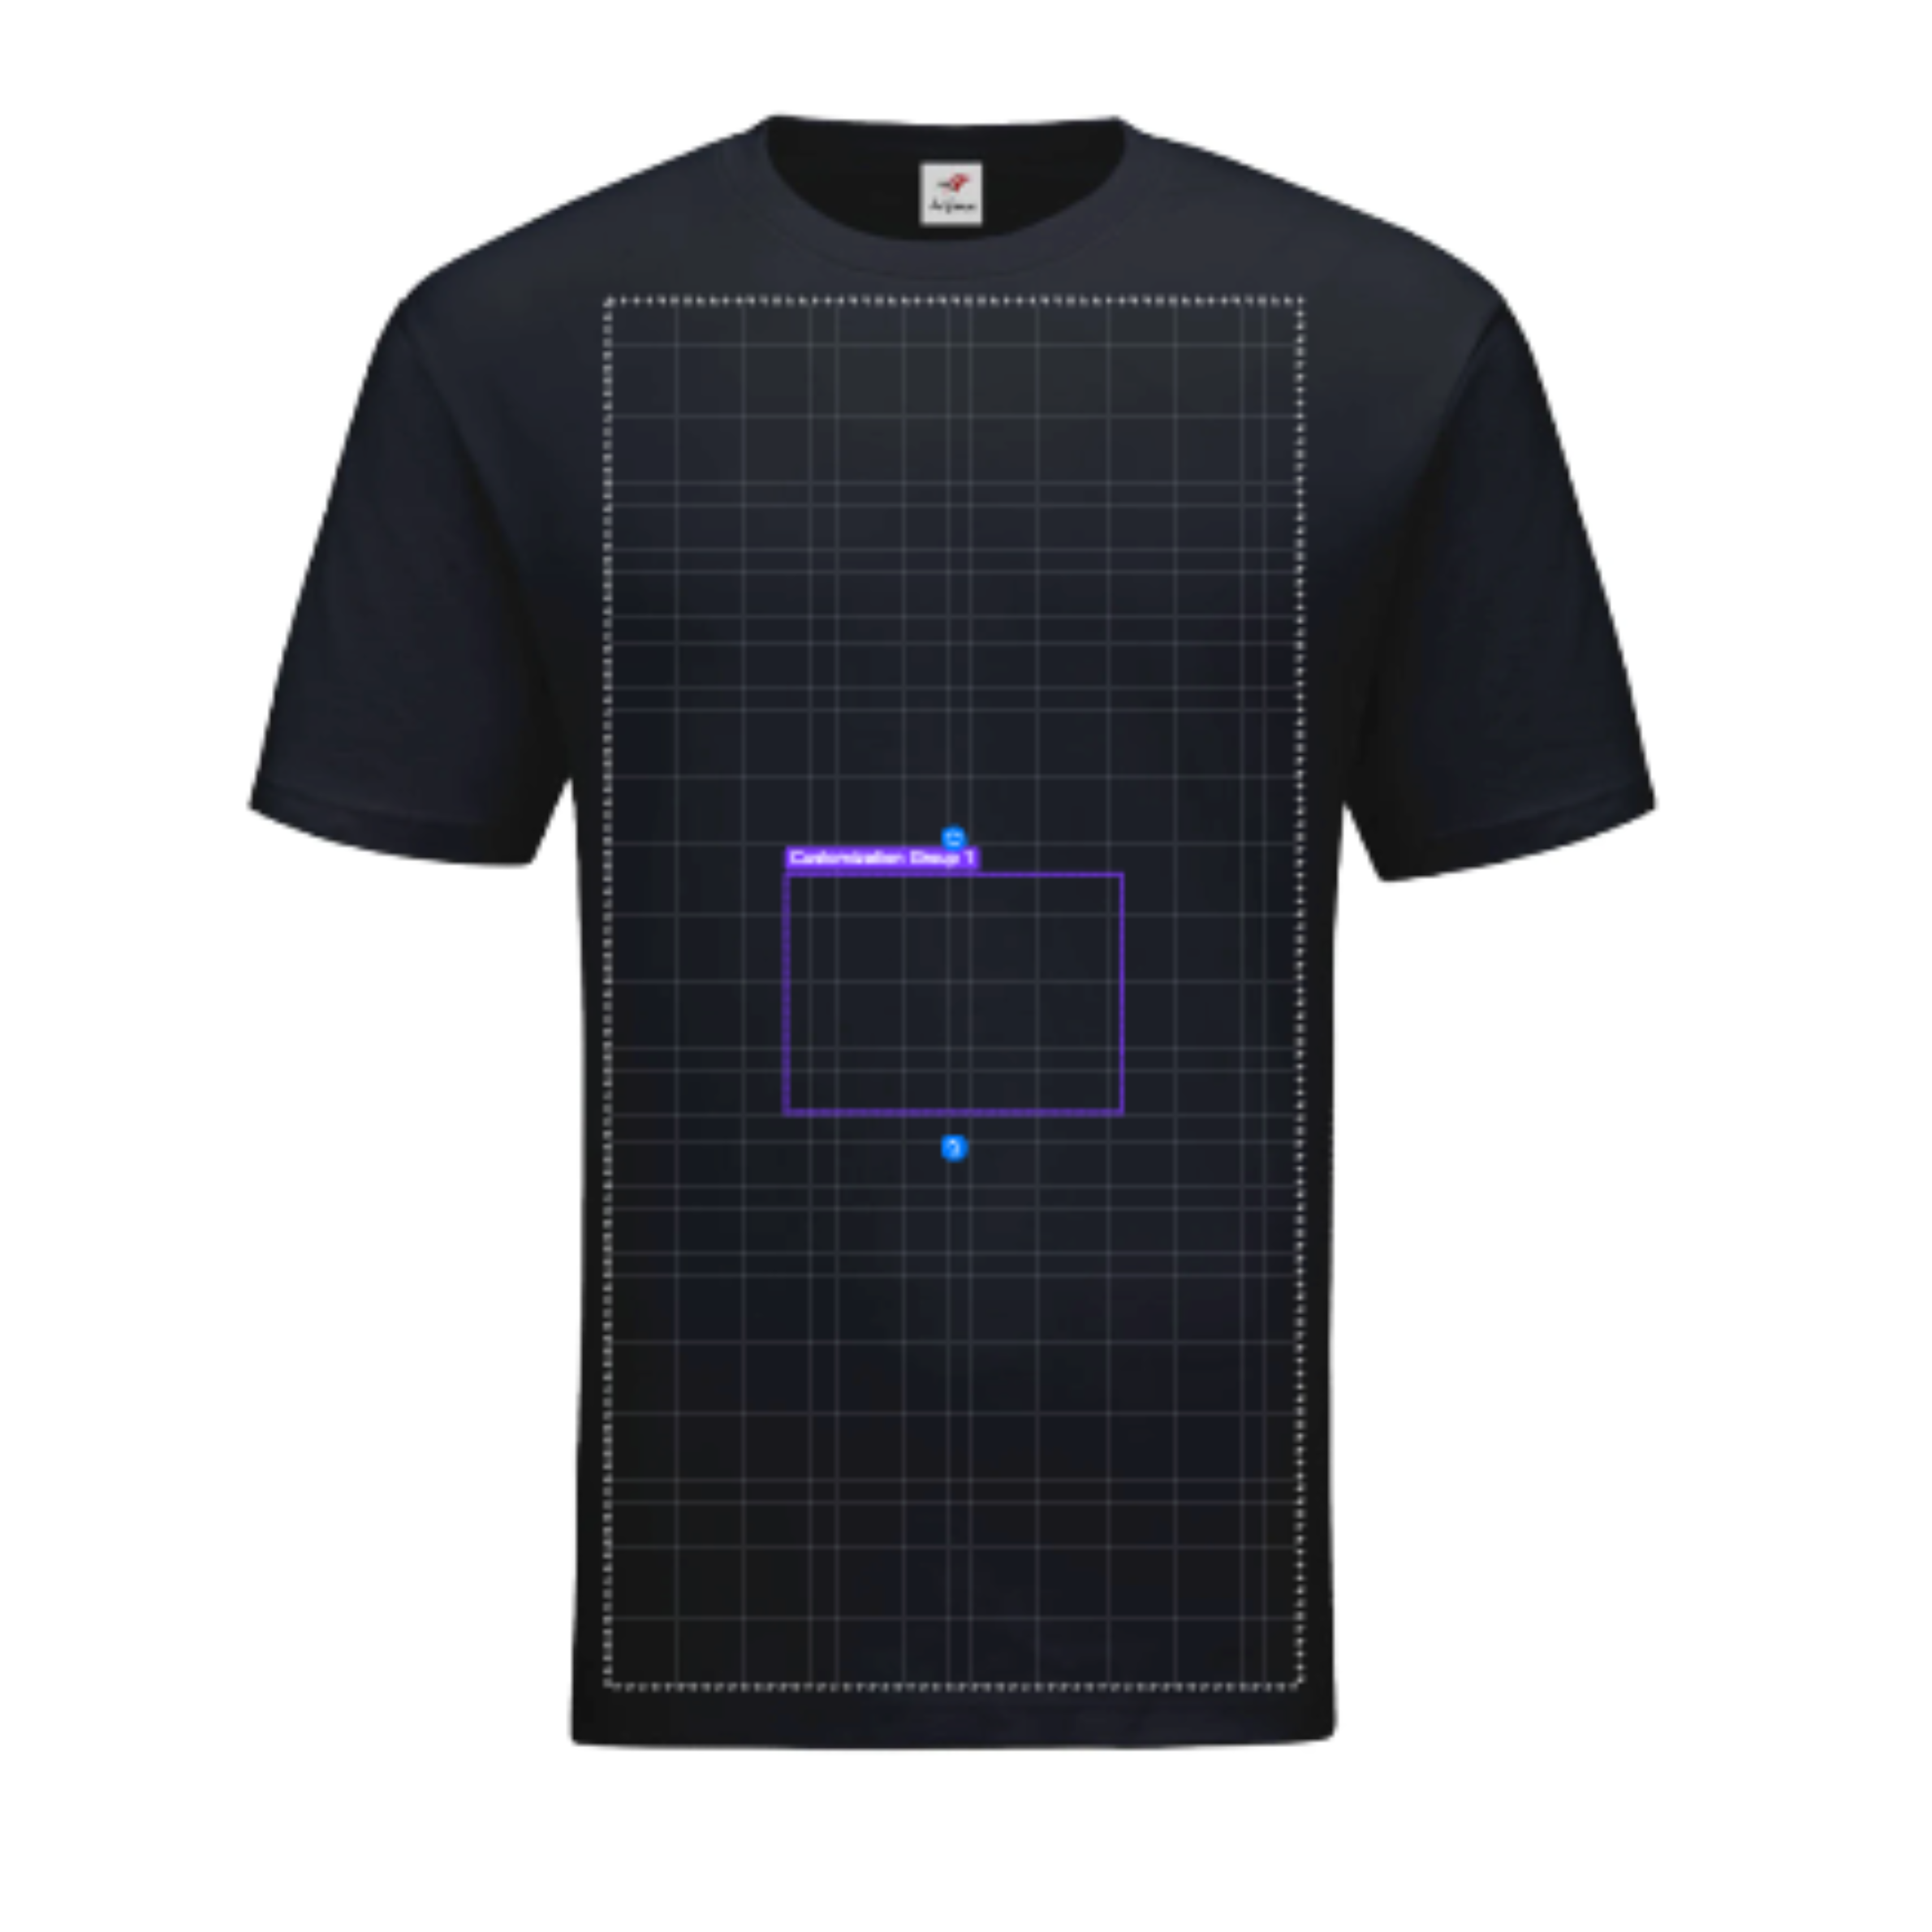
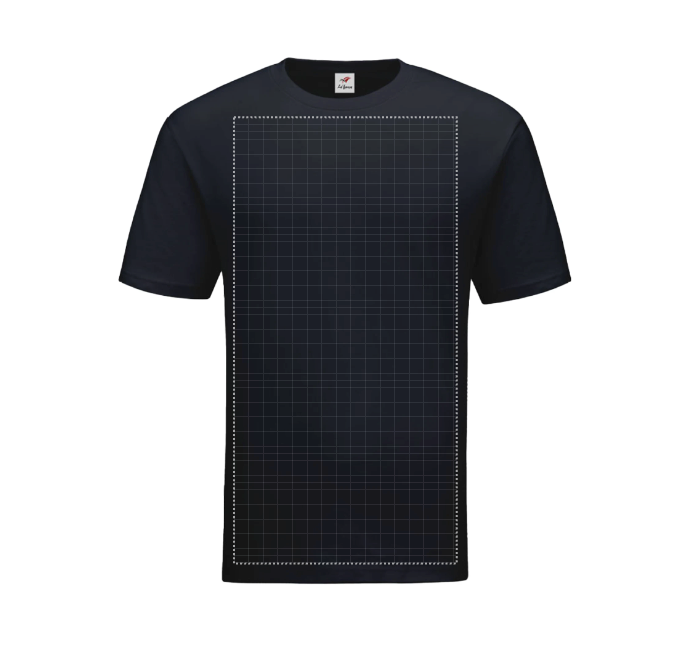
When you are designing your shirt, you will notice two different boxes on the mockup. To make sure your design comes out perfectly, here is a simple guide on what those lines mean.
When you select a size, you will see a white dashed box appear on the t-shirt. This is the Bleed Line (or your “Safe Zone”).
Why it’s important:
To get a “retail-store” quality finish, keep these three tips in mind:
Pro-Tip: Use the grid lines inside the box to make sure your design is perfectly centered with the t-shirt’s collar!
Ready to start? Pick your size, stay inside the dashed lines, and let your creativity run wild!
For customization merchandise, design printing, or premium gift bundles, please contact our Sales support team for a personalized quote.

@ 2025 CUSTA. All rights reserved
CUSTA SDN. BHD. (Company Registration
No. 2023010003516 [1522349-U])