Once you have mastered the basics of the CUSTA Online Editor, you may have more specific requirements for your order. This article addresses how to handle size variety and how to select the optimal printing method for your specific design requirements.
How do I Add Size in Specific Shirts?
Step 1 : Design the adult version : Start by finalizing your design on the adult product. Our system will automatically save your layout, including logo placement, size, and font choices.
Step 2 : Customizing for kids' sizes : Once your primary design is set, you can seamlessly transition to the kids' size option. The editor allows you to adjust the design specifically for the youth garment.
How to Choose the Most Suitable Printing Method?
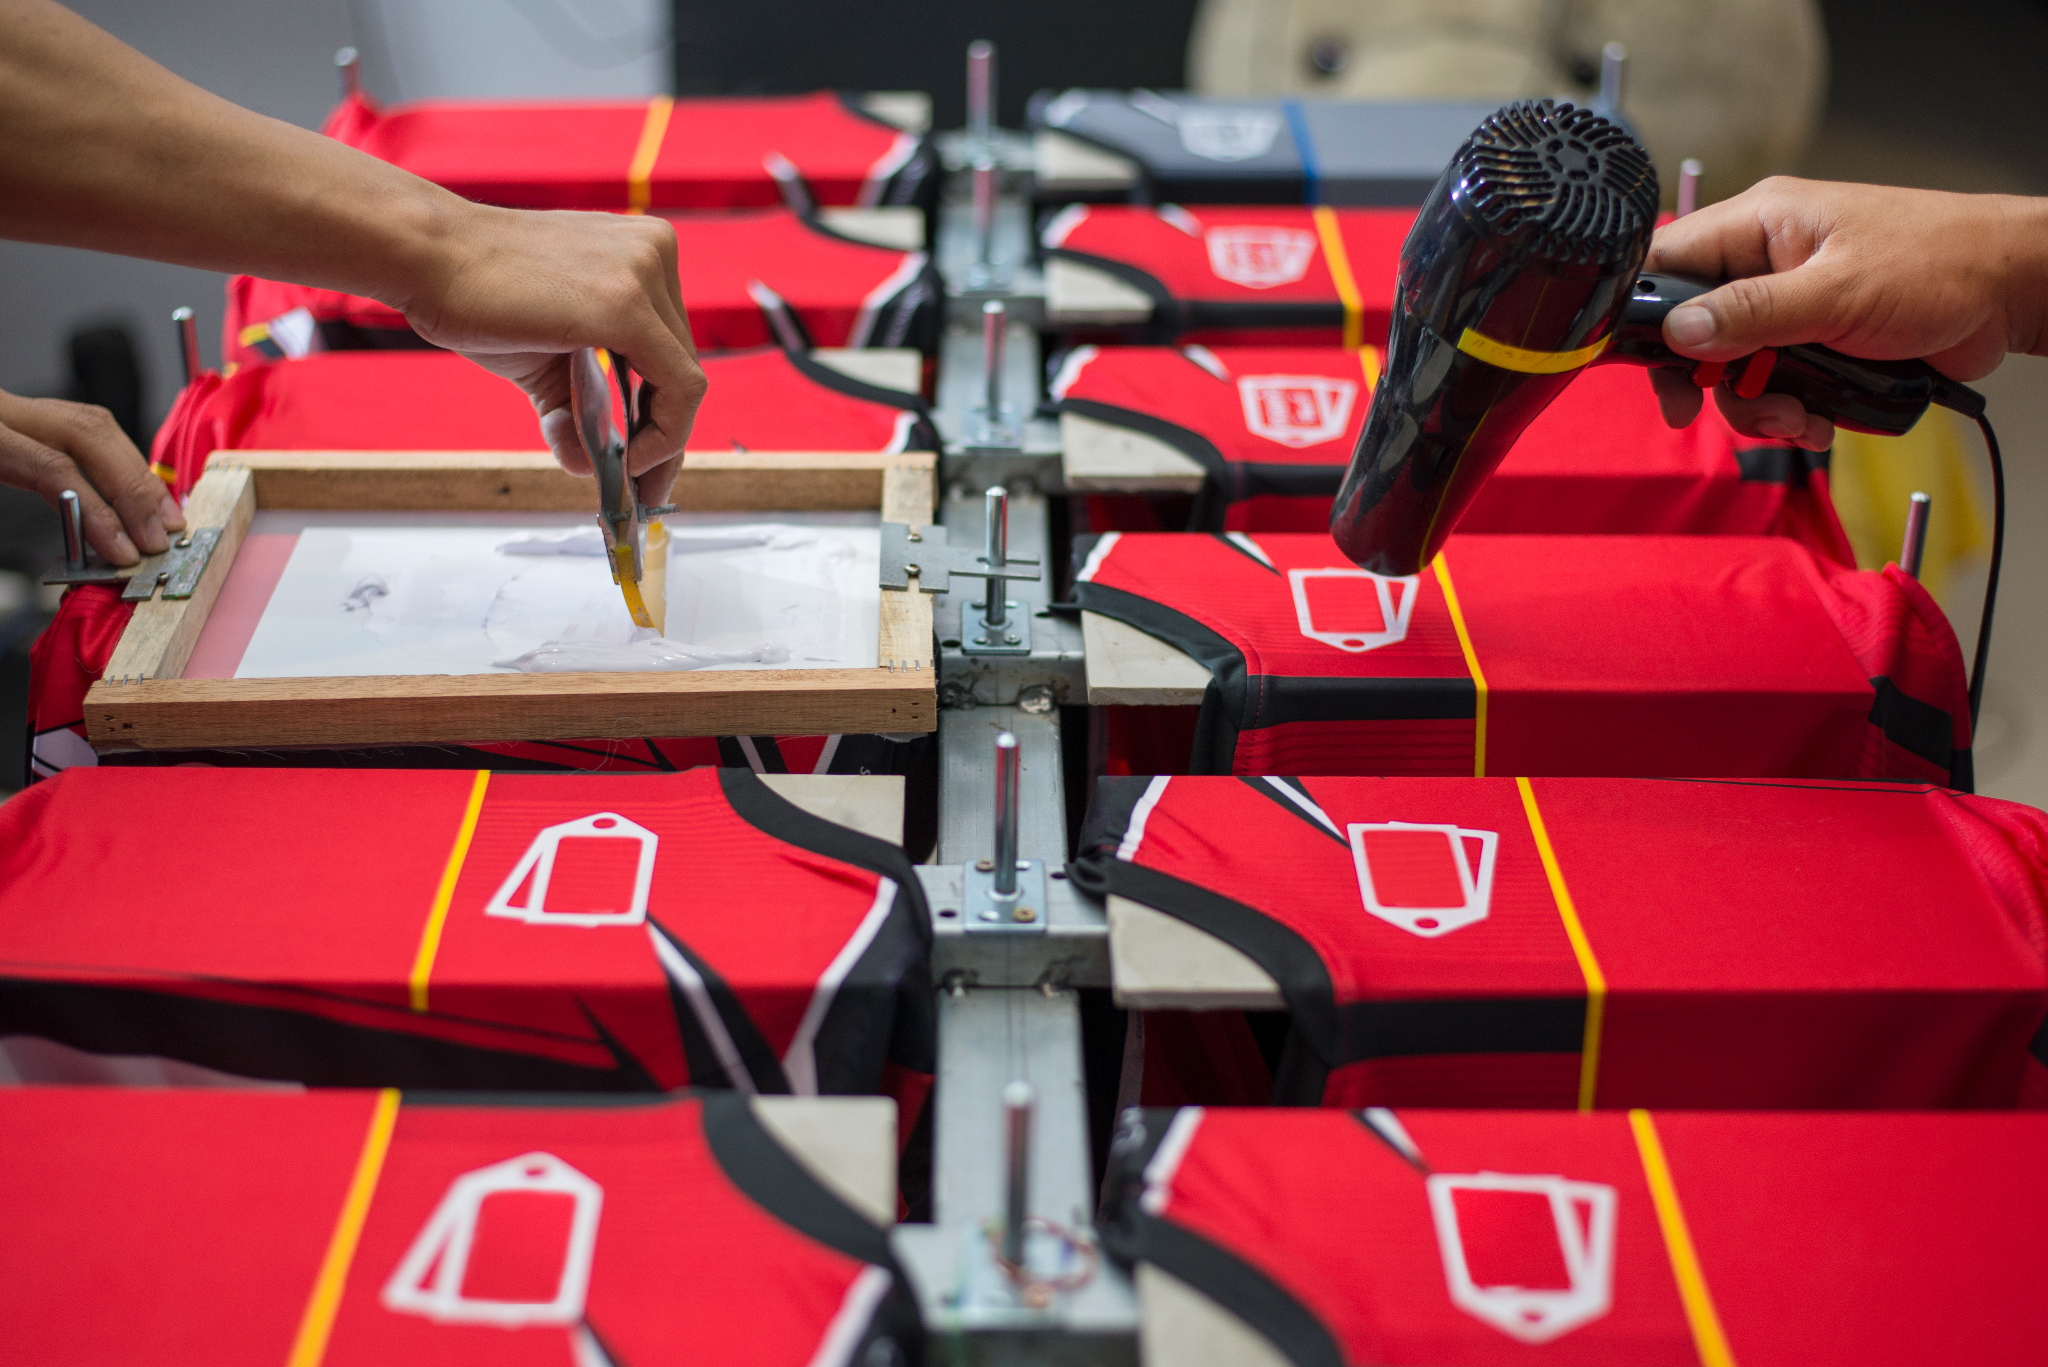
Silkscreen Printing
Budget-friendly for company : The more you print, the cheaper it gets. It's the most economical choice for large family gatherings.
Industrial durability : The ink literally sinks into the fabric. It can survive the roughest washing machines and years of wear.
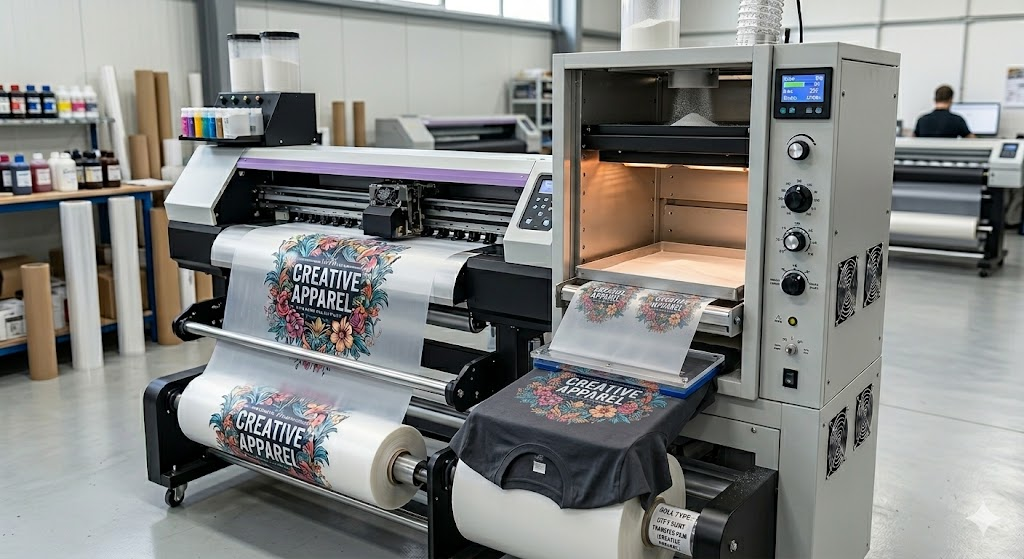
DTF (Direct-to-Fabric) Printing
Photo-realistic quality : Perfect for printing actual family portraits or colorful "throwback" photos with high-definition clarity.
Durable and kid-proof : The prints are flexible and won't crack or peel, even after a long day of outdoor games and multiple machine washes.
Works on any fabric : Whether the family chooses cozy cotton tees or breathable sports jerseys, DTF sticks perfectly to both.
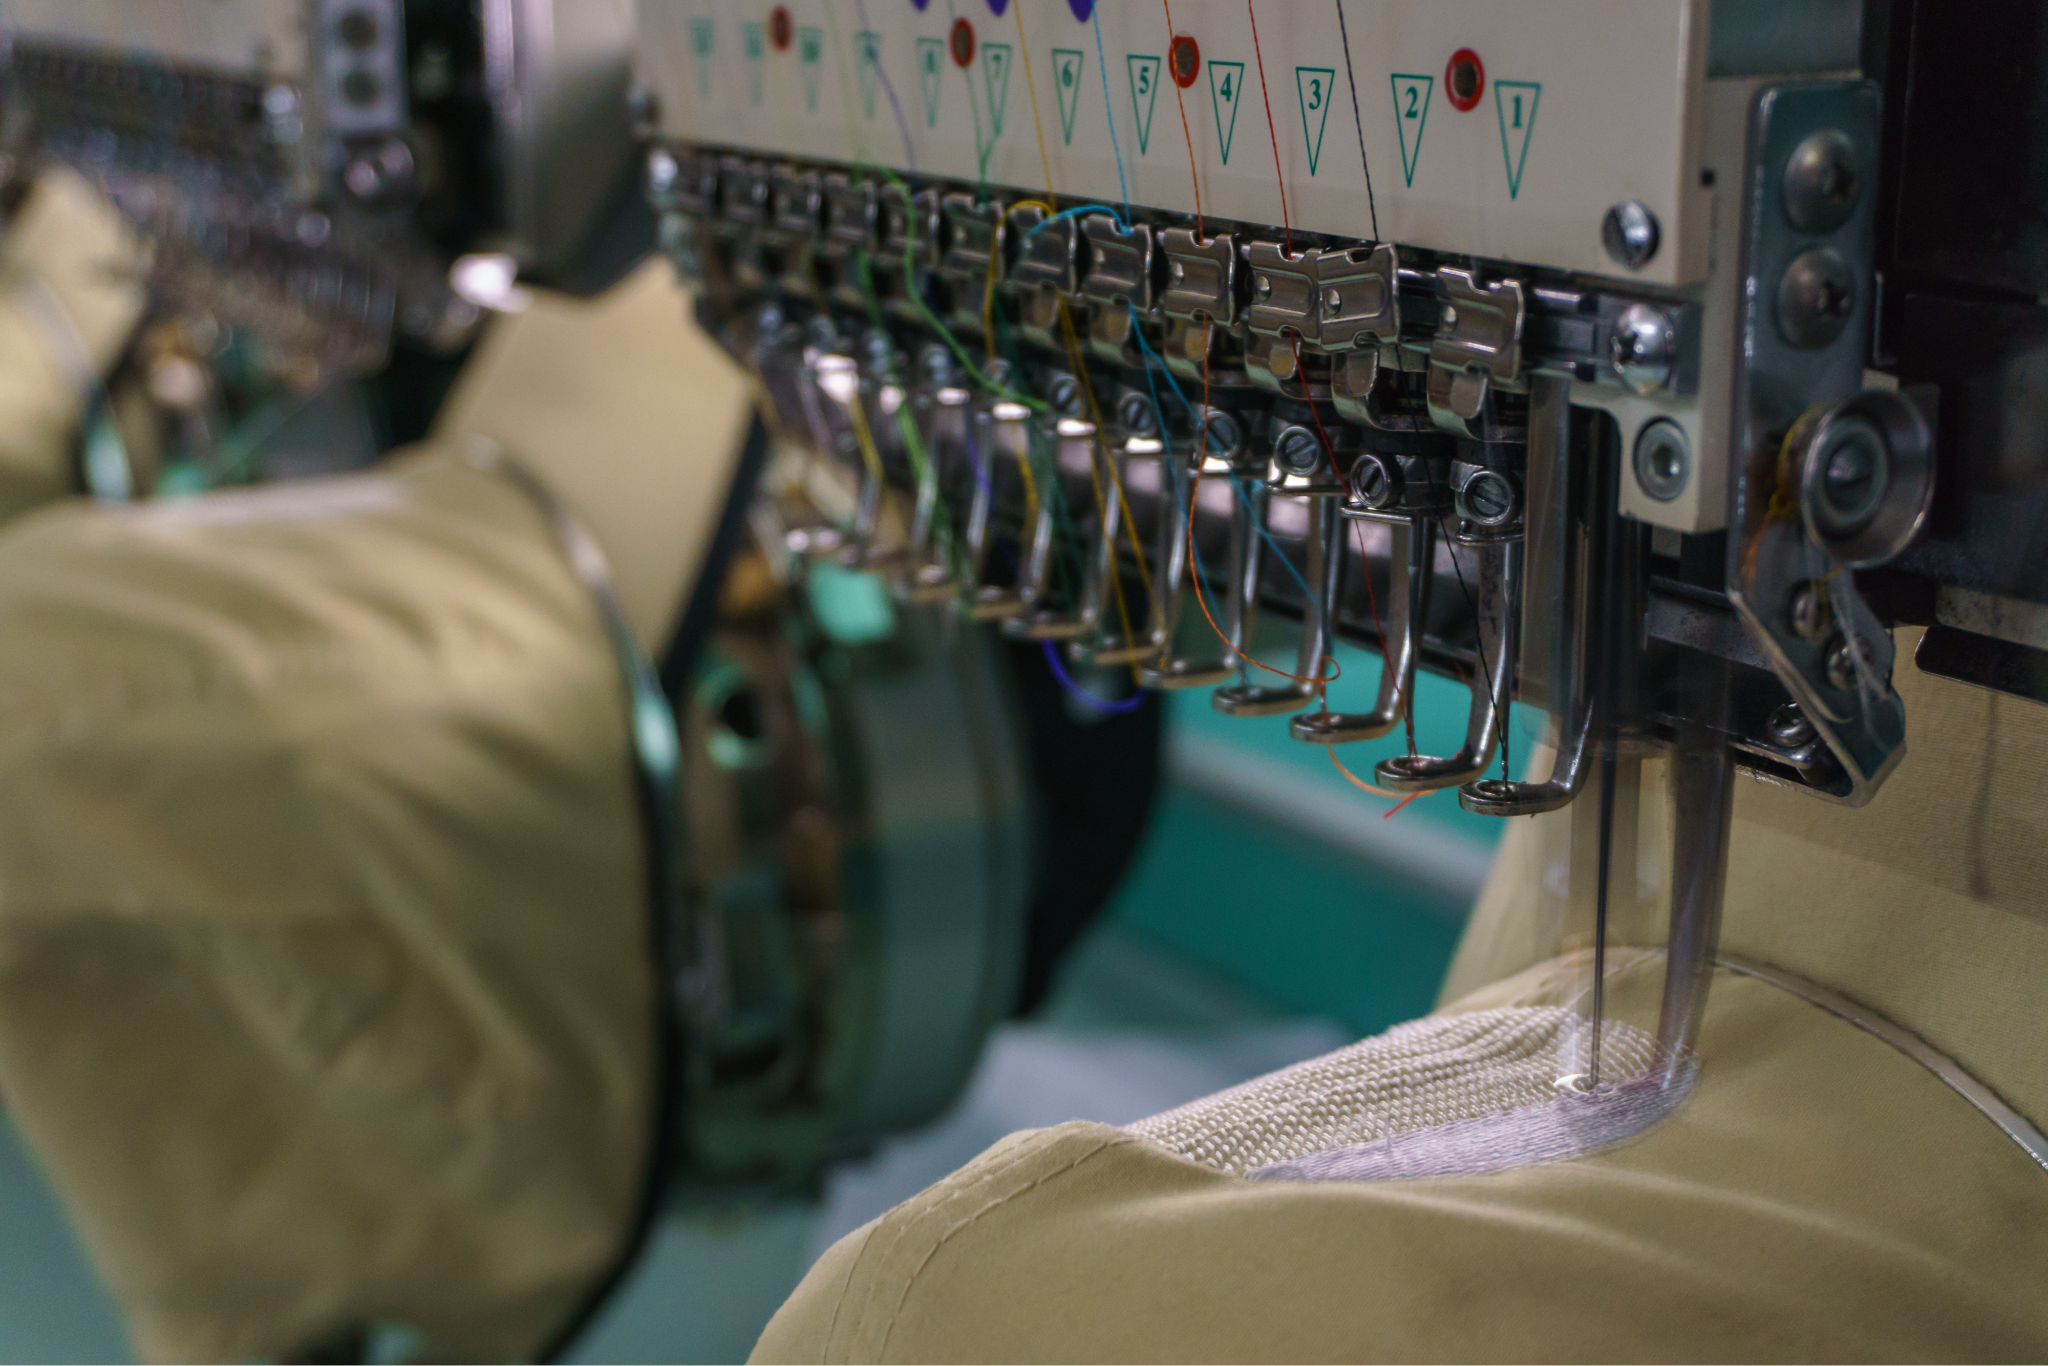
Embroidery
The 3D look : The raised thread gives a textured, professional finish that screams quality and sophistication.
Lifetime durability : Unlike prints that can eventually fade, embroidery is stiTched in. It will likely outlast the shirt itself!
Perfect for polos and caps : If the family wants a country club or team captain vibe, this looks best on collared shirts, jackets, and hats.
How to make your selection
T choose the best method, first consider your design's complexity. If you have a simple logo, Silkscreen is efficient. If you are working with full color images or intricate patterns, choose DTF.
Comparison of Printing Method
Feature
DTF (Direct-to-Film)
Silkscreen
Embroidery
Best for
Photos & Multi-color designs
Simple logos & Bulk orders
Professional & Premium look
Why?
Like printing a high-definition photo onto your shirt. There are no color limits.
This is the industry standard for durability and cost-savings on large orders.
Instead of ink, we use high-quality thread to stitch your design directly into the fabric for a 3D effect.
Lead time
Fastest (5-7 days)
Moderate
Moderate
Minimum order
No MOQ
20 PCS+
20 PCS+
Creating personalize T-shirt for Your Family Using Online Design Editor.
Once you have mastered the basics of the CUSTA Online Editor, you may have more specific requirements for your order, This article addresses how to handle size variety and how to select the optimal method for your specific design requirements. Families often customize merchandise for events such as family reunions, birthday celebrations, holiday gatherings, or sports day activities. Cotton customized items include T-shirts, hoodies, mugs, tote bags, and caps. These items help create a sense of unity and also serve as memorable souvenirs for family members.
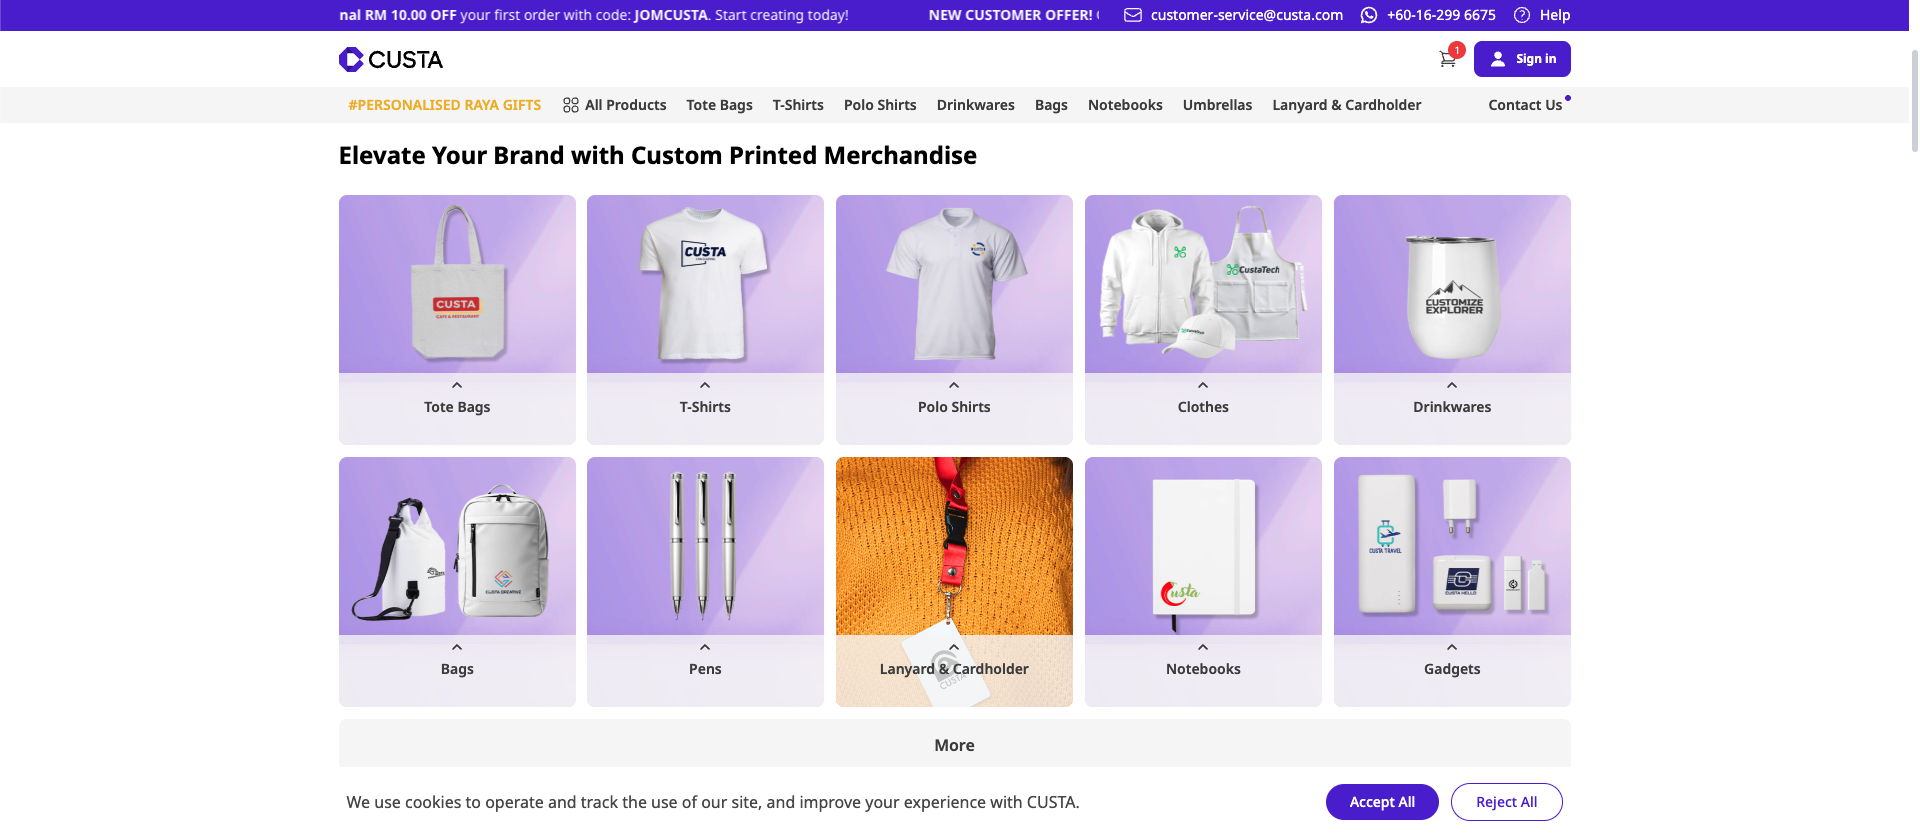
Step 1 : Go to CUSTA website.
Visit the CUSTA website and create your account to get started with your custom order.
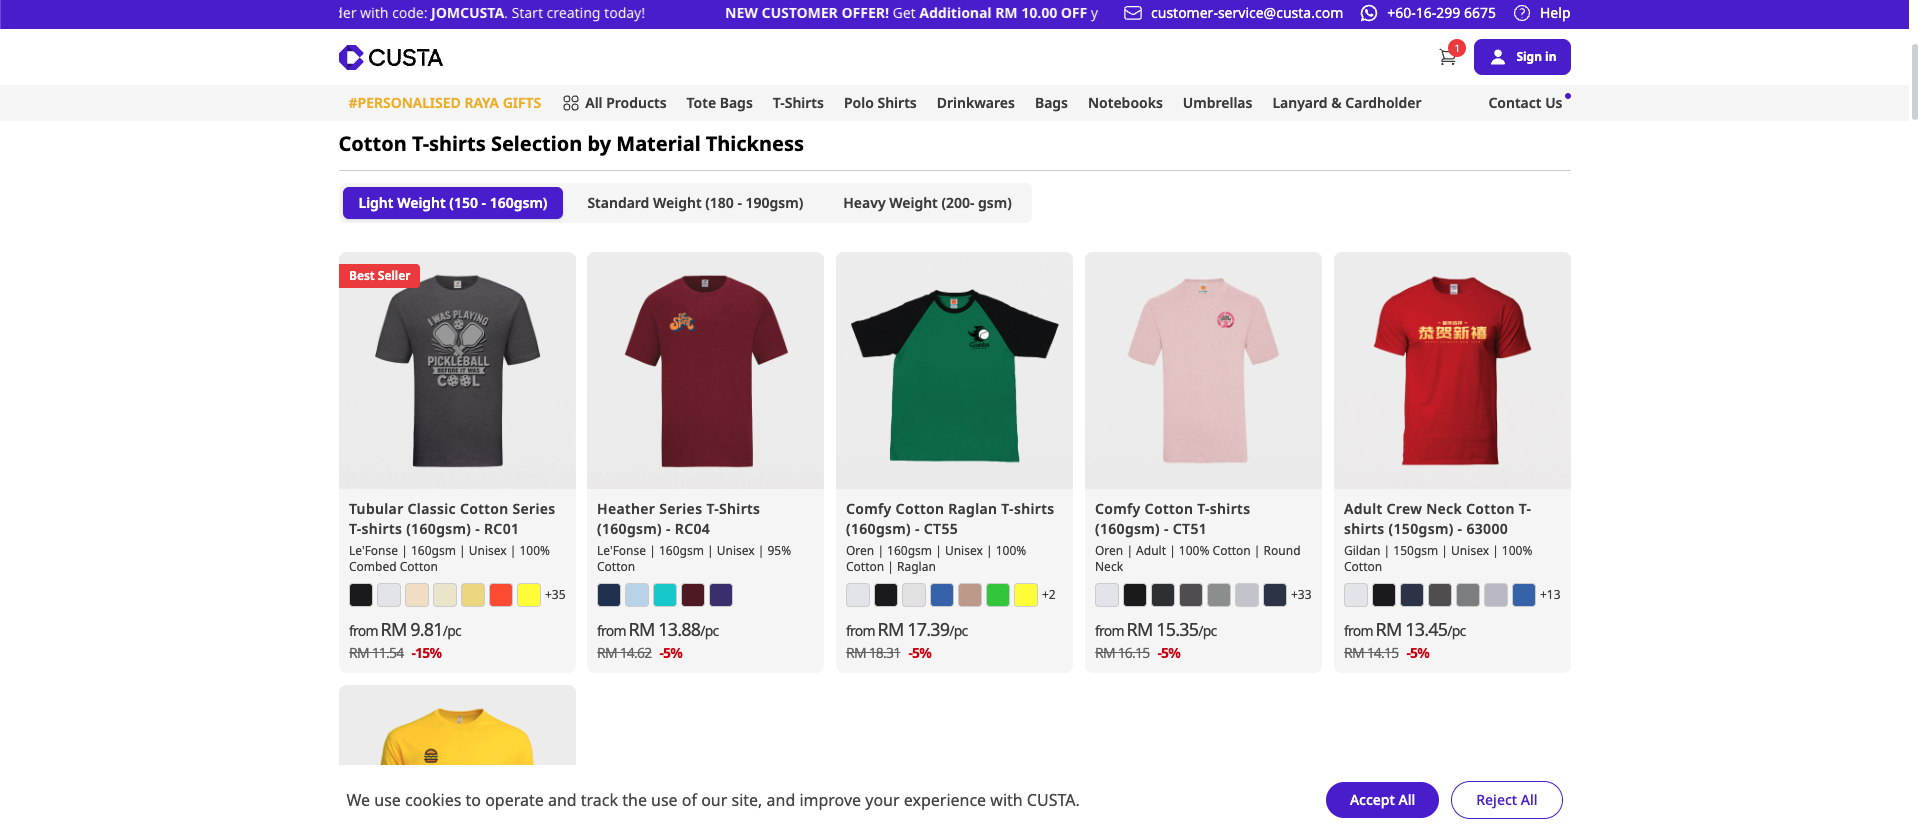
Step 2 : Choose your merchandise.
Browse the product catalog and select the items you want to customize for your family. For family events, you can select items such as T-shirts, mugs, tote bags, or hoodies that can be shared among family members as souvenirs.
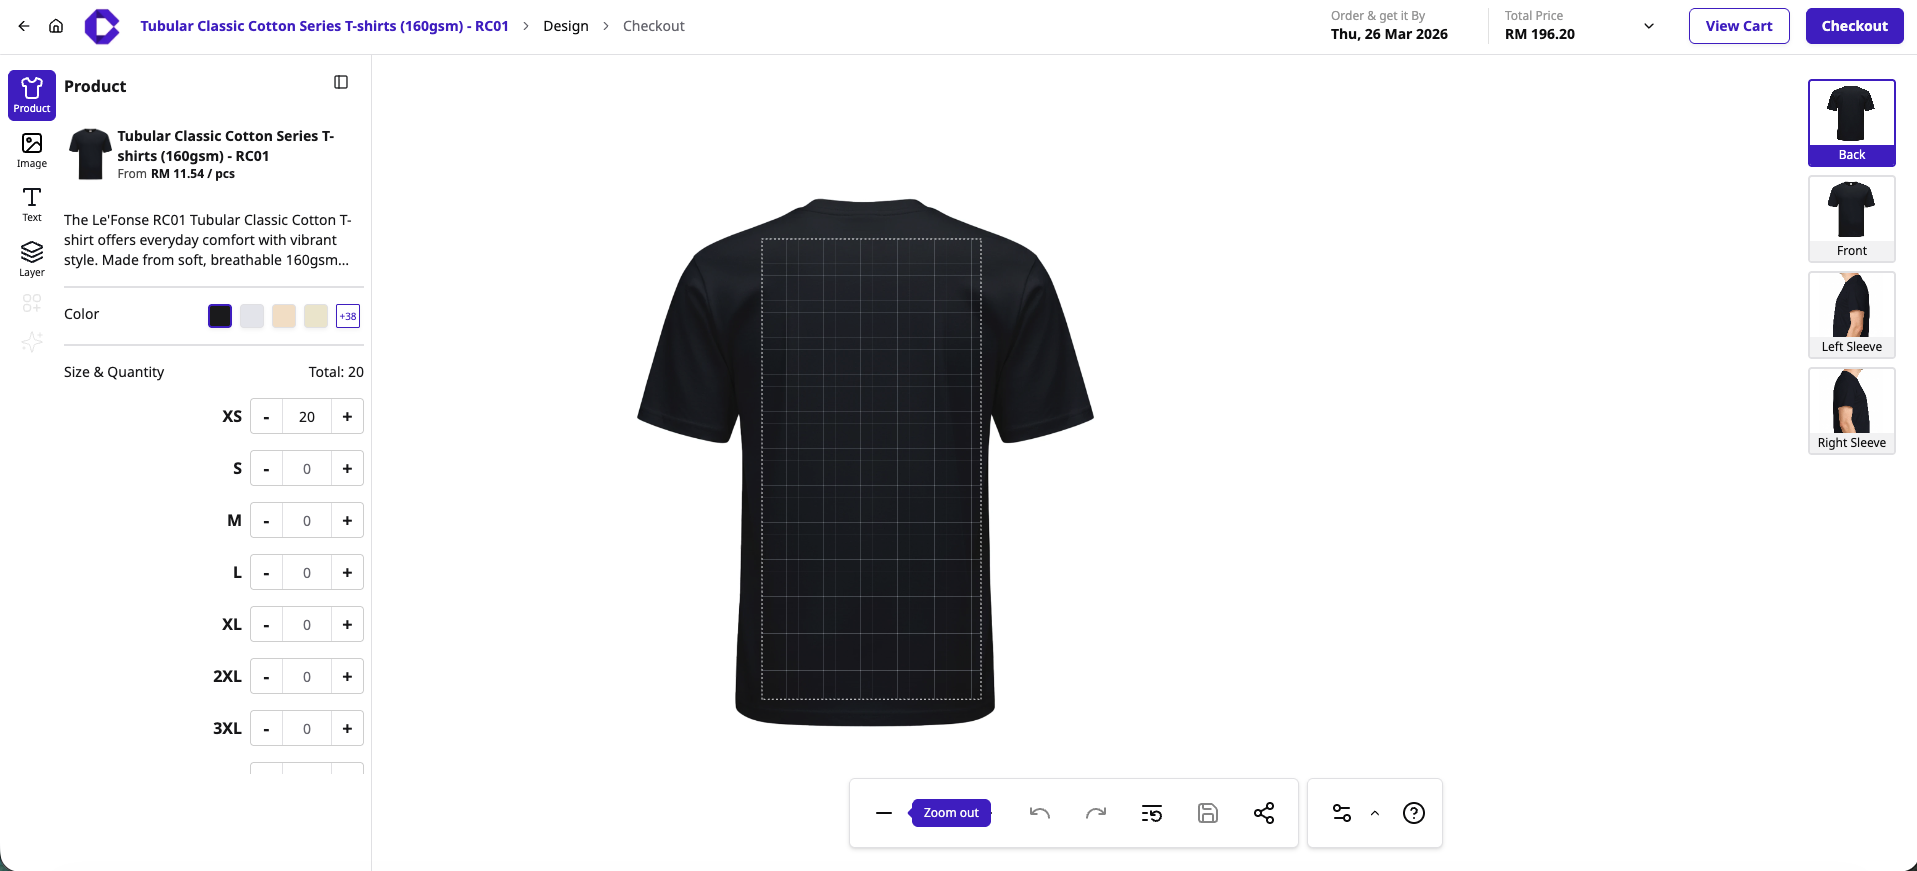
Step 3 : Start customize your merchandise using CUSTA Online Design Editor.
To customize your merchandise, use the left-hand menu to select your shirt color and enter the desired quantities for each size. Next, use the image or text tools to add your design to the grid area, and use the right-hand sidebar to switch between views (front, back, or sleeves) to refine your artwork. Once you are satisfied with your design and the total price, simply click add to cart or checkout to finalize your order.
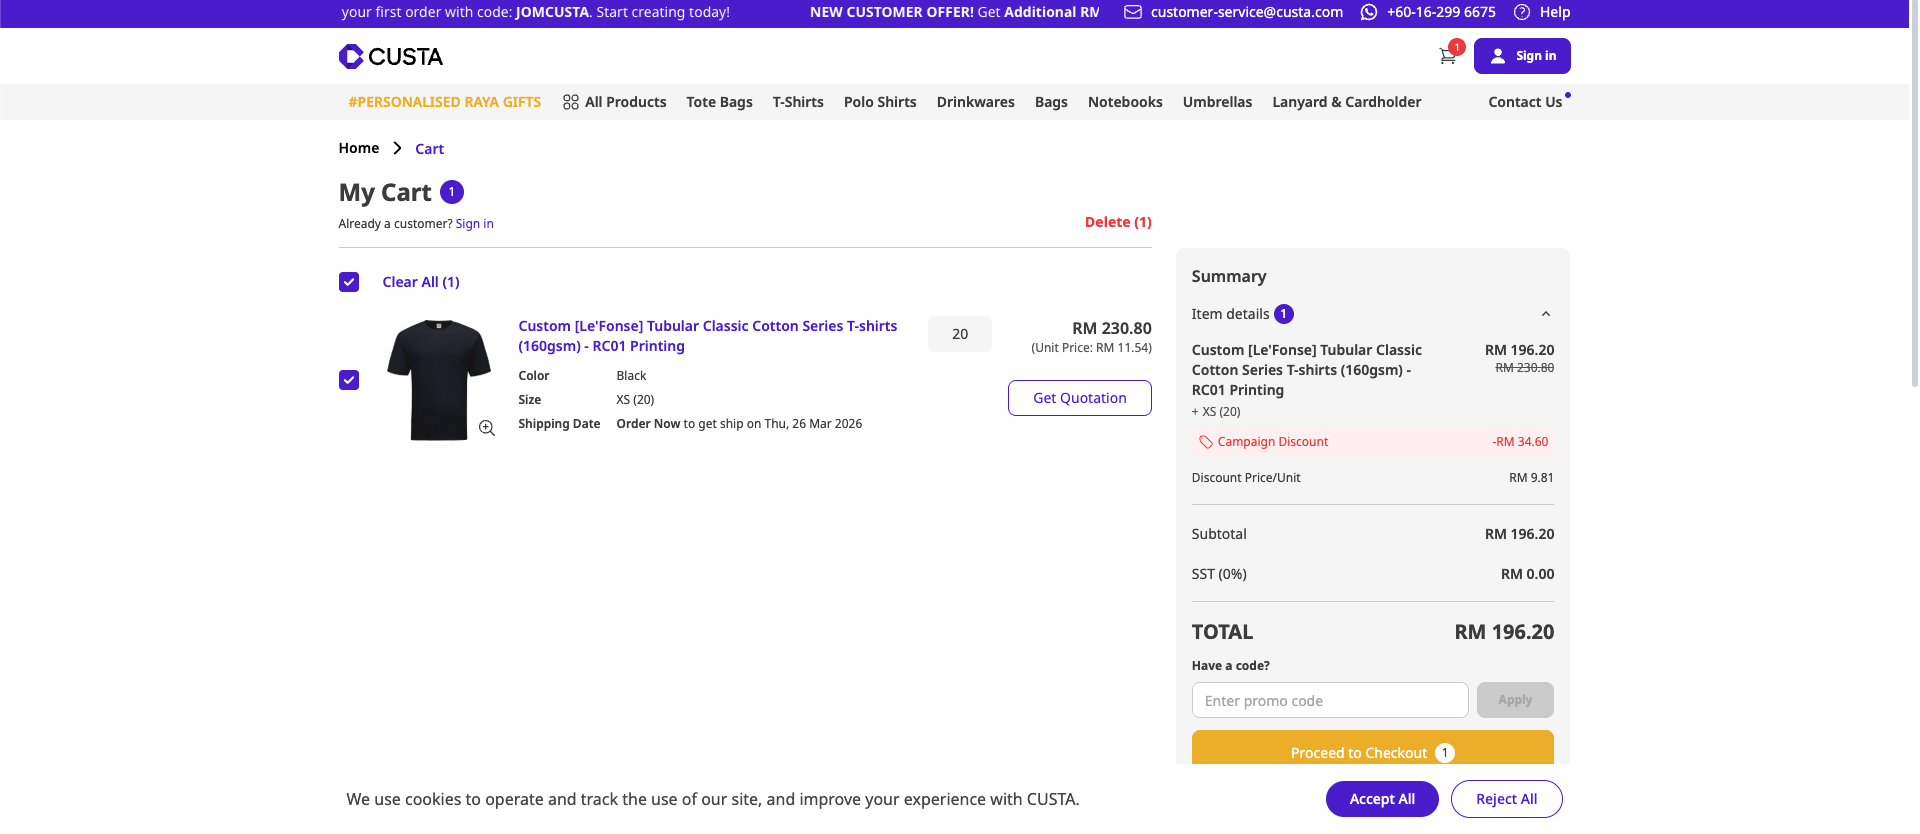
Step 4 : Save and add to cart your design to get your quotation.
To finalize your order, click the add to cart button at the top right of the editor to save your design, which will then generate a formal quotation for your project.
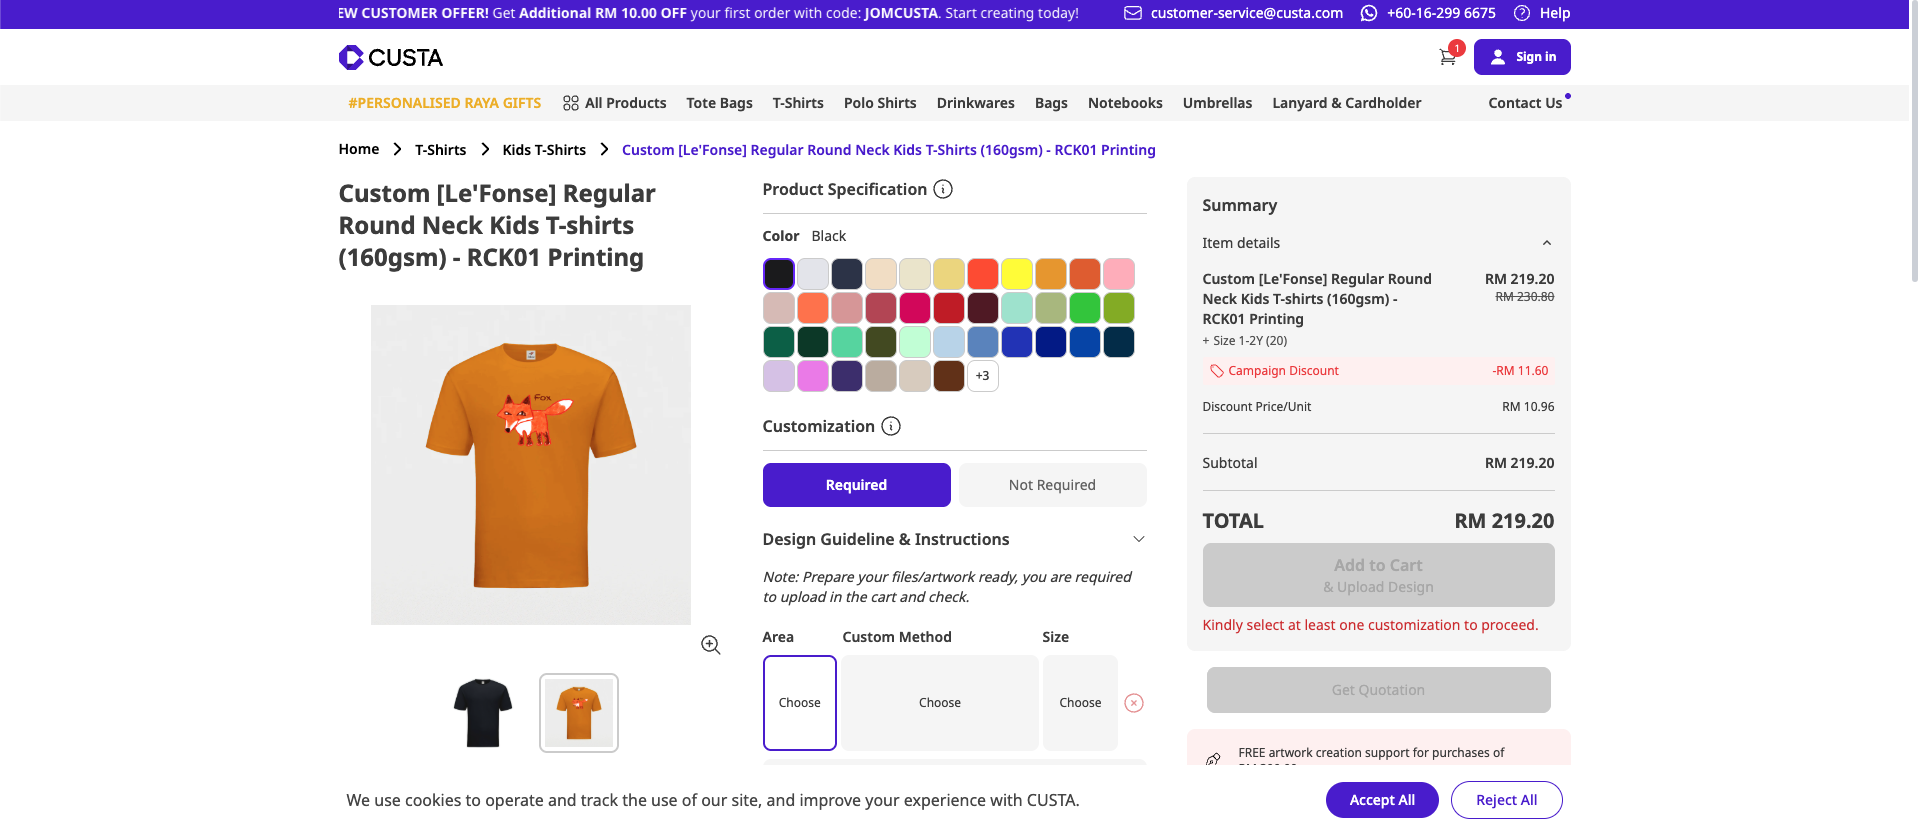
Step 5 : Add and select size for your kids.
Navigate to the kid's section, select your preferred item, and input the required sizes and quantities to add them to your order.
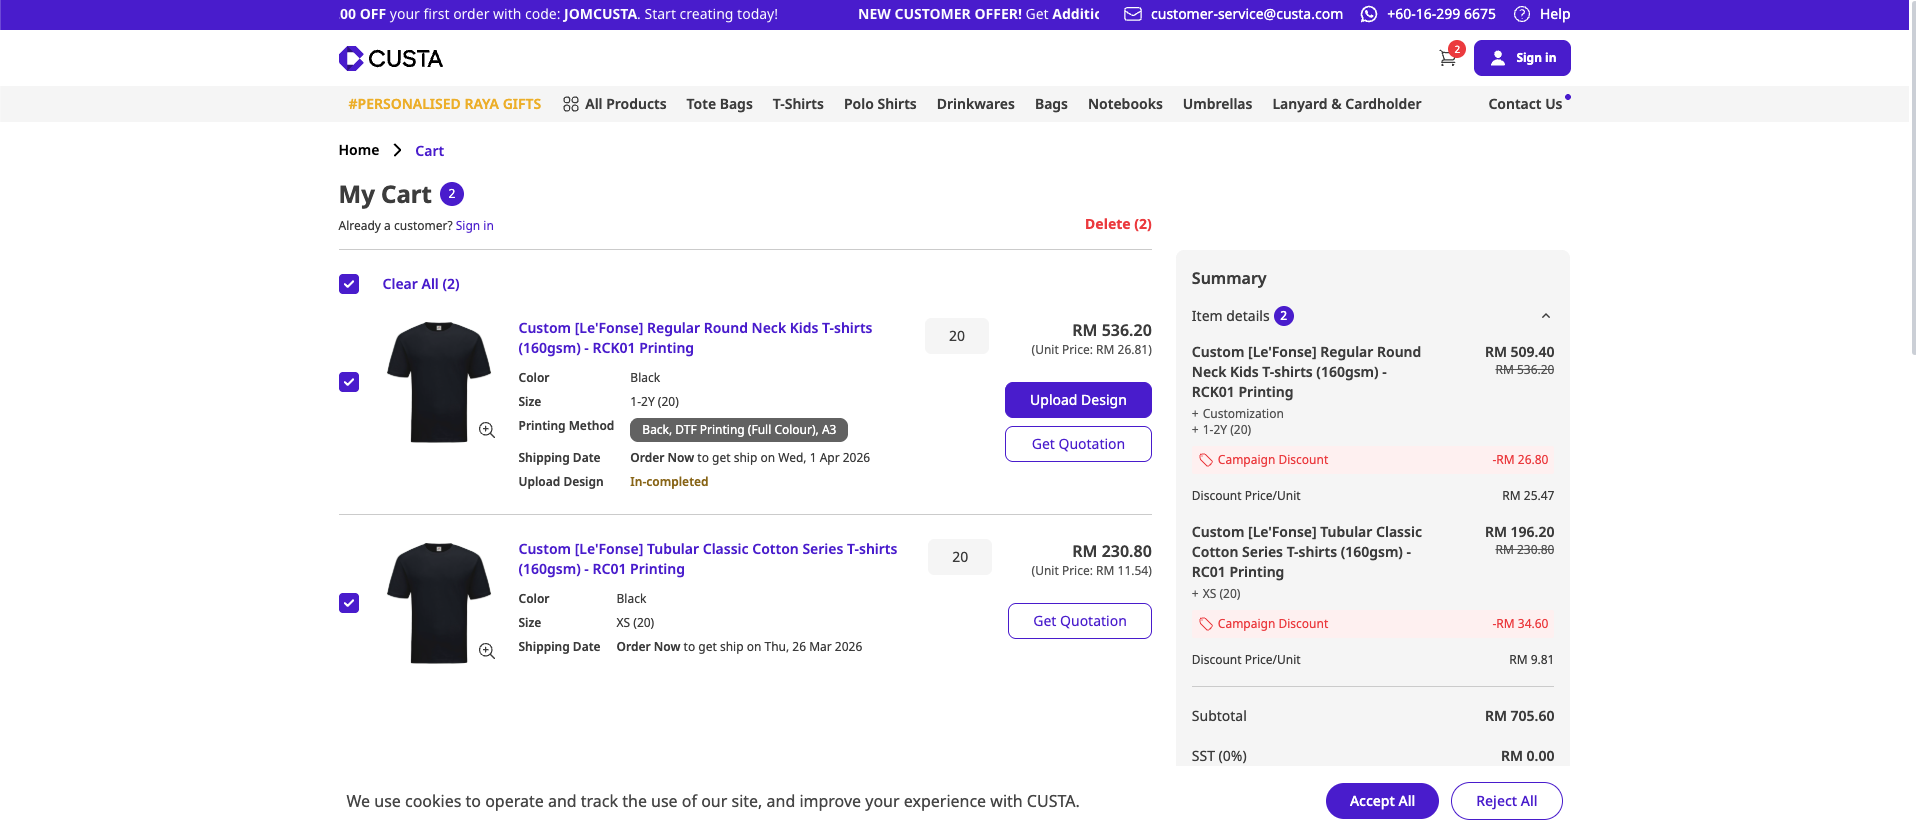
Step 6: Continue checkout and get quotation.
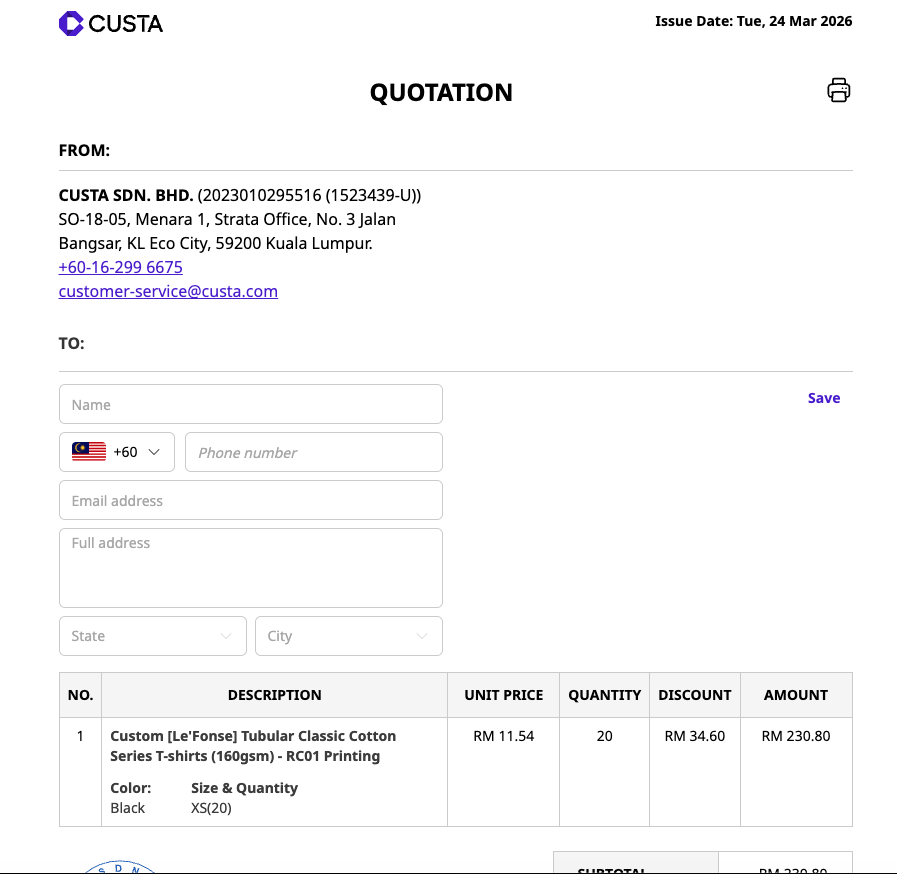
Review your items in the shopping cart, ensure your designs are uploaded, and click the get quotation button to finalize your order details.
Creating Personalized T-shirt for Your Corporate Using Online Design Editor.
For corporate or company events, you can choose the merchandise such as company T-shirts, polo shirts, caps, corporate stationary, and tumblers. These items are often used for staff uniforms, corporate branding, promotional giveaways, conferences, or team-building events.
Step 1 : Go to CUSTA website.
Visit the CUSTA website and create your account to get started with your custom order.
Step 2 : Choose your merchandise.
Browse the product catalog and select the items you want to customize for your Corporate, Company or Branding.
Step 3 : Start customize your merchandise using CUSTA Online Editor.
To customize your merchandise, use the left-hand menu to select your shirt color and enter the desired quantities for each size. Next, use the image or text tools to add your design to the grid area, and use the right-hand sidebar to switch between views (front, back, or sleeves) to refine your artwork. Once you are satisfied with your design and the total price, simply click add to cart or checkout to finalize your order.
Step 4 : Save and add to cart your design to get your quotation.
To finalize your order, click the add to cart button at the top right of the editor to save your design, which will then generate a formal quotation for your project.
Step 5 : Continue checkout and get quotation.
Review your items in the shopping cart, ensure your designs are uploaded, and click the get quotation button to finalize your order details.
Ready to Impress your Guests?
For customization merchandise, design printing, or premium gift bundles, please contact our Sales support team for a personalized quote.